
Beautiful tile work is one of the most satisfying elements of a completed home addition and remodel. However, a high-quality tile installation depends entirely on how much planning you do before mixing any mortar.
Tiling is a precision craft. If you do not plan your layouts before installation begins, you run the risk of having awkward, thin slivers of tile along your visible baseboards, mismatched grout lines across your shower niches, and an overall off-balance look. To prevent this, we completed a detailed layout planning process for each of our four bathrooms, working closely with our tile setter on site to verify every joint, pattern, and trim transition.
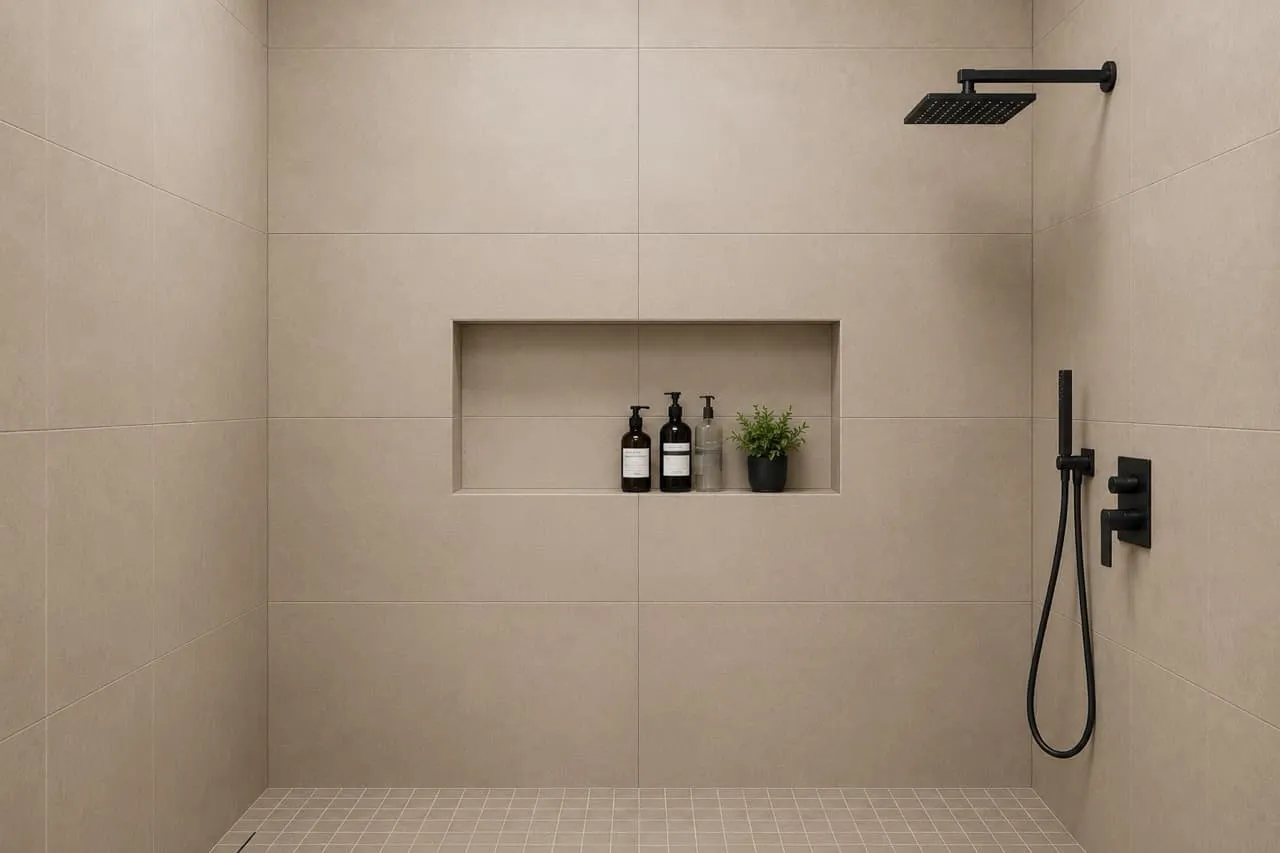
Sourcing Our Tiles: Designing Diverse Bathrooms
We sourced our tiles from Imperial Tile Company, selecting specific colors and textures to give each bathroom a distinct look:
- The Master Wet-Room: We designed a clean, modern wet-room layout, requiring a consistent wrap of large-format tiles across the floors and walls.
- Bathroom 1 (Mom’s Bathroom): We selected Lime Evolution tiles for both the floor and shower walls, keeping the space bright and cohesive.
- Bathroom 2 (Tub Surround): We chose a durable, textured tile (UNM 9609) for our tub surround walls, creating a clean contrast with our white bathtub.
- Bathroom 3 & Powder Room: We utilized standard, modern tiles, matching them with clean layouts.
The On-Site “Dry Lay” Walkthrough
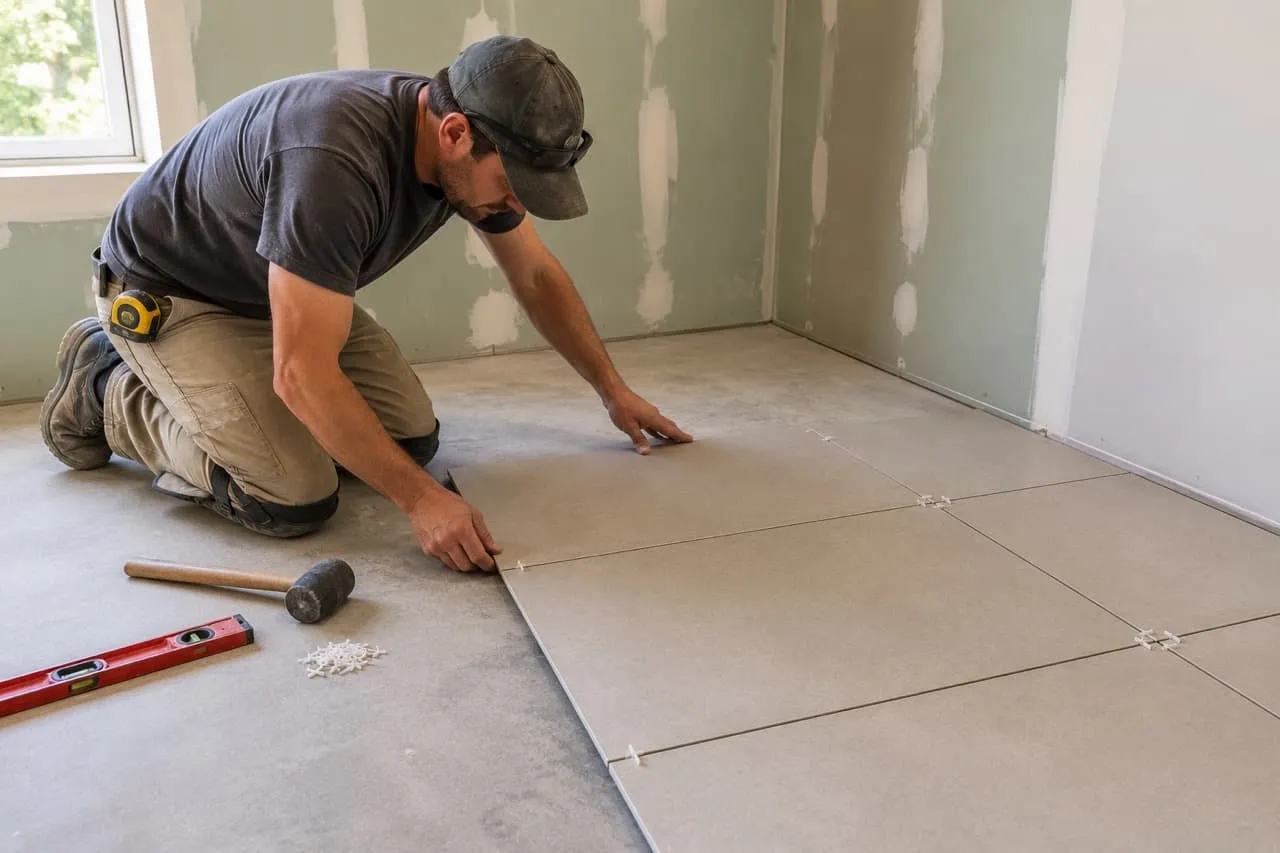
To ensure our layouts were balanced, we met our tile setter on site for a hands-on “dry lay” walkthrough. A dry lay involves laying out a complete row of tiles on the floor without mortar:
- Centering the Pattern: If you start tiling with a full tile in one corner, you might end up with a tiny, awkward 1-inch sliver of tile at the opposite wall. To prevent this, our tile setter measured the wall, located the center point, and worked outward. This ensured that any cut tiles at the corners were identical in size and balanced, creating a symmetrical look.
- Mitigation of Floor and Ceiling Cuts: We adjusted our start height on the walls to ensure we did not have thin slivers of tile running along our finished ceiling line or floor baseboard.
Coordinating Niches and Schluter Metal Trims
Built-in shampoo niches are highly useful, but they can easily ruin the look of a shower if the tile lines don’t align. We built our wood niche framing to match our tile grid, ensuring that our horizontal grout lines ran continuously through the niche frame without requiring awkward cuts.
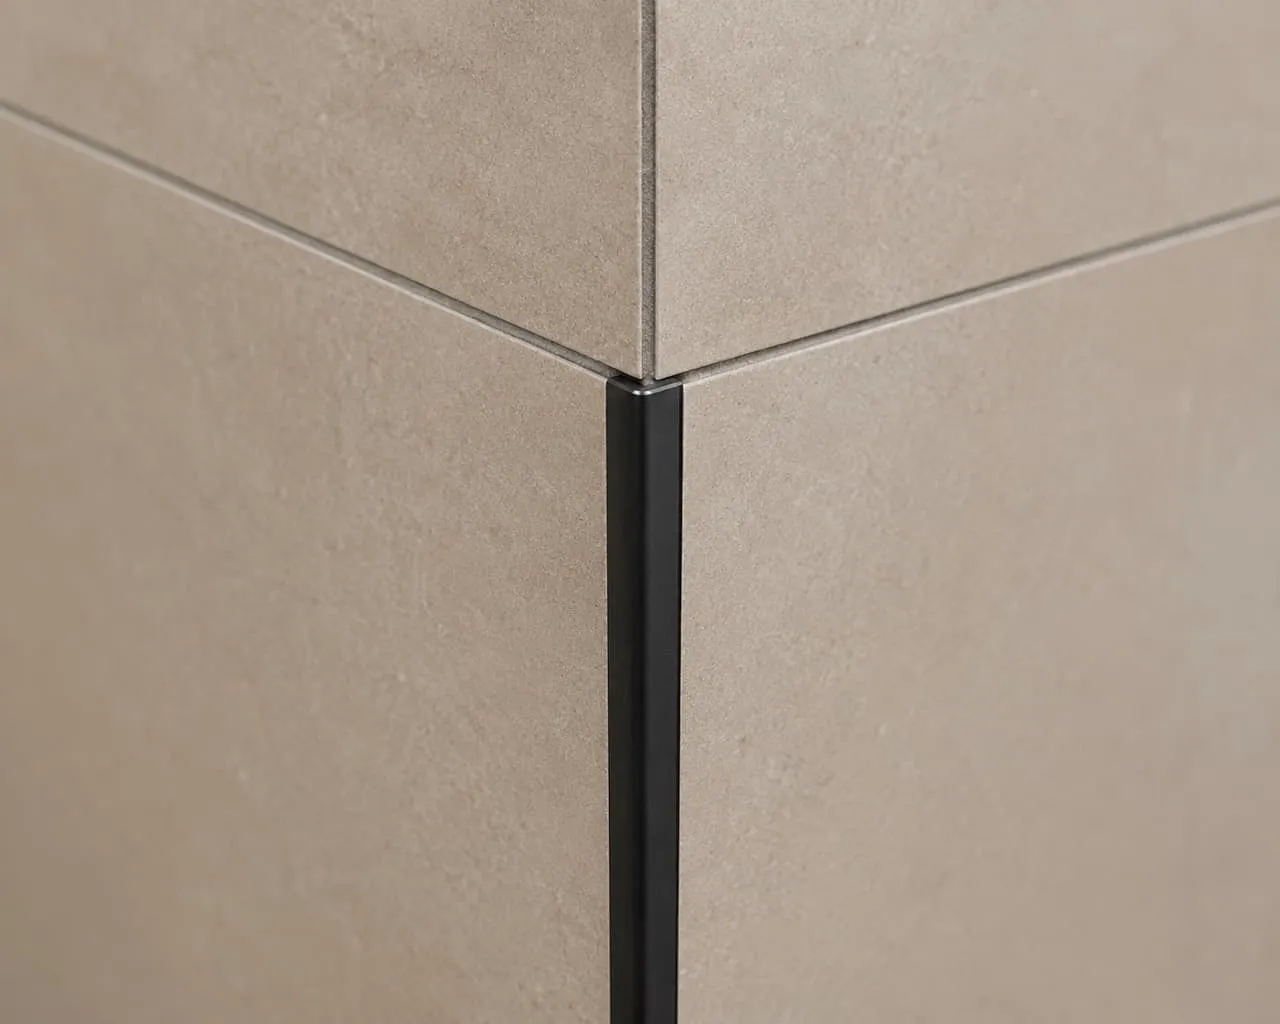
Additionally, we had to choose how to finish the raw, cut edges of our tiles at outer corners. Rather than using traditional, bulky ceramic bullnose pieces, we chose low-profile, matte-finish Schluter metal edge trims that blended into our grout color, keeping the corners flat and modern.
Crucial Homeowner Call-Outs: What to Watch For
- Always Demand a Dry Lay Before Mortar is Mixed: Walk your bathrooms with your project manager and tile setter before they begin active tiling. Have them dry-lay a row of tiles across the floors and walls to physically verify that the corner cuts are balanced and free of awkward, thin slivers. If you spot an uneven layout, adjust the starting offset before any adhesive is applied.
- Align Shower Niches with Your Grout Lines: Coordinate the placement of your built-in shampoo niches with your tile pattern. Instruct your builder to construct the rough-in niche boxes to line up with the height of your proposed tile grid, ensuring that your horizontal grout lines run cleanly through the niche frame rather than cutting through the middle of it.
What’s Next in the Construction Journey…
With our bathroom tiles successfully planned and installed, our wall finishes are complete. Join us in our next post, Episode 36: Custom Cabinetry — Coordinating Sinks, Appliances, and Waterfall Edges, as we shift to our kitchen and share our guide on coordinating cabinetry fabrication with countertops and appliance dimensions.