
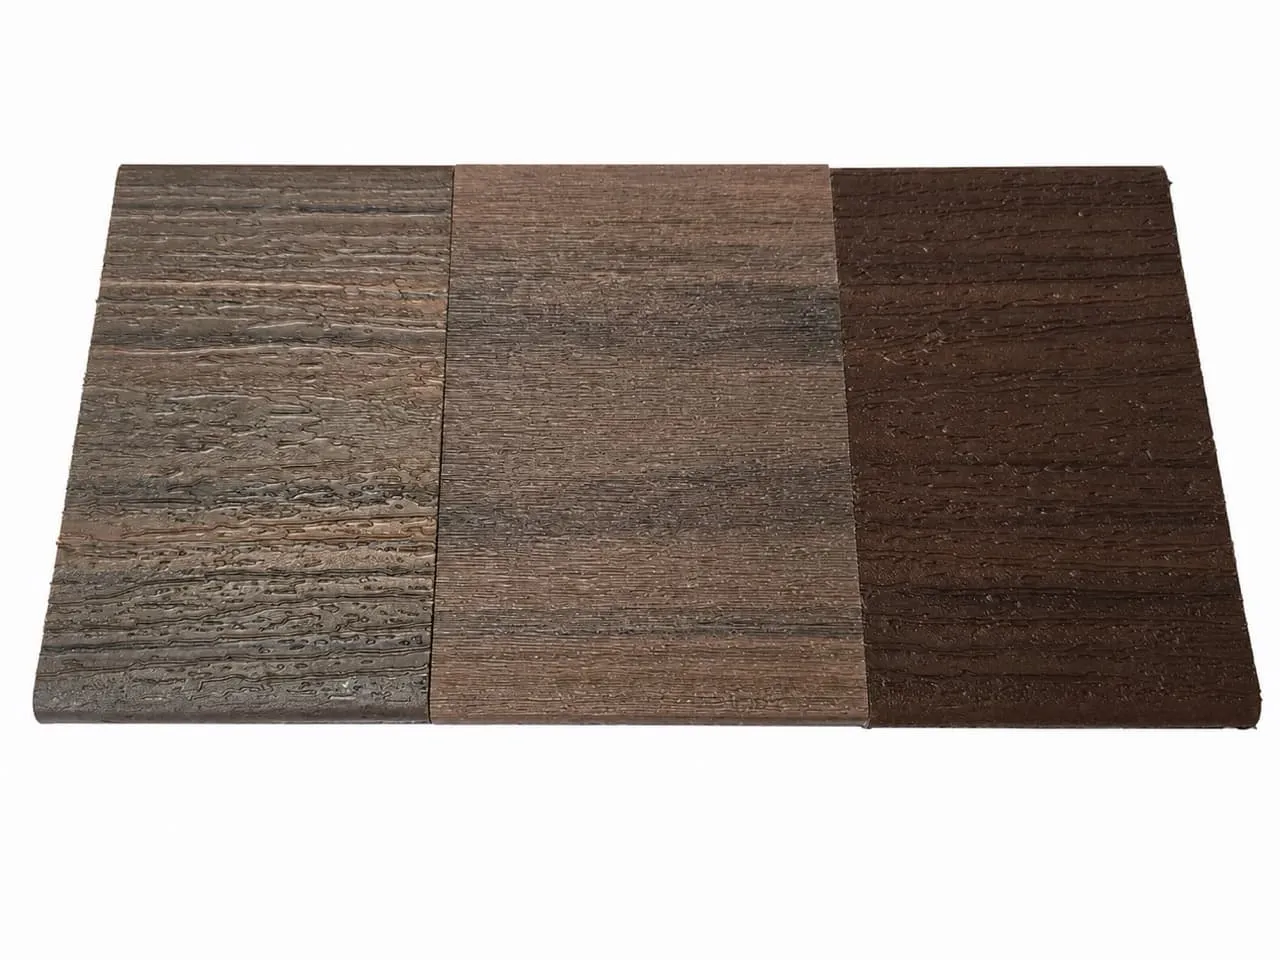
On September 22, 2025, our smooth stucco was curing, and our general contractor’s crews began installing our exterior facade. We selected TimberTech English Walnut composite siding to contrast with our white stucco walls and black window frames.
Selecting high-performance composite siding is an excellent way to achieve the warmth of natural wood without the constant maintenance, staining, and fading associated with natural timber. However, achieving a clean, modern aesthetic depends entirely on how your installation crew handles the small details—specifically, corner trims, vertical-to-horizontal transitions, and expansion joints.
Siding Layouts: Horizontal vs. Vertical
When reviewing our architectural renderings, we loved the linear, modern look of wood-look planks. However, translating a 3D rendering into physical siding panels requires resolving several layout decisions:
- The Siding Direction: Our plans showed clean, horizontal siding runs across the main facade, with a few smaller accent areas running vertically. We decided to keep the main siding running horizontally to emphasize the home’s width, but we needed a clean way to terminate the horizontal boards where they met at corners.
- The Corner Dilemma: Standard composite siding installations often utilize thick, boxy “corner caps” (overlapping metal or composite L-shaped trims) to hide the raw, cut ends of the boards. We felt these bulky trims looked uncoordinated, disrupting the clean, flush lines of our modern design.
The On-Site Mockup Solution
On September 23, 2025, the siding crew was on site, waiting for a final decision on how to handle the corner details. To help us visualize the options, our project manager, David, and general contractor, Tomas, built a physical on-site mockup of our two preferred corner styles:
- The Mockup: They installed a small section of horizontal boards meeting a standard corner cap, next to a custom vertical transition piece where the horizontal boards met a flush, vertical edge-trim.
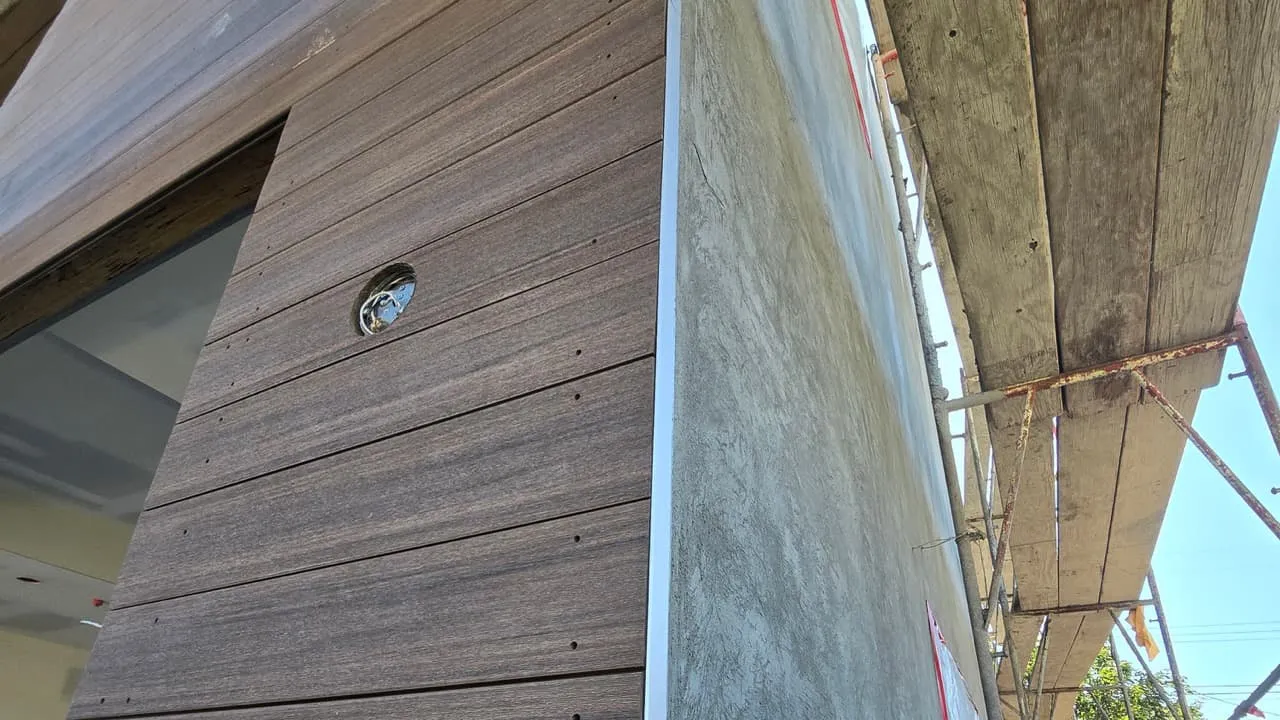
- The Decision: Seeing the mockup in person made the choice simple. The flush, vertical edge-trim transition looked significantly cleaner and sat flat with the building facade, avoiding the boxy look. We approved this option on site, allowing the crew to proceed with installation.
Managing Expansion and Contraction Gaps
Composite siding materials consist of a blend of wood fibers and recycled polymers. While highly durable, these composite boards expand and contract horizontally as outdoor temperatures shift.
Managing this thermal movement requires precise gap management:
- Joint Gaps: Installers must leave precise, calculated gaps (typically 1/16 to 1/8 inch depending on the temperature during installation) at all end-joints and transitions.
- The Buckling Risk: If boards are jammed tightly together without gaps, they will have no room to expand under direct summer sunlight, causing them to warp, buckle, and pop loose from their structural fasteners.
- Backing Barriers: Because these expansion gaps are open to the air, our crew ensured that a durable, black waterproof barrier (tar paper) was installed behind every joint, protecting the home’s sub-wall framing from water leaks while keeping the gaps looking visually uniform.
Crucial Homeowner Call-Outs: What to Watch For
- Enforce Manufacturer-Specified Expansion Gaps: Do not let your siding crew install composite boards tight against each other or flush against window trims. Ask your contractor for the manufacturer’s installation manual and verify that the crew is leaving the correct expansion gaps at all joints. Improperly gapped composite siding will eventually buckle under the sun, requiring an expensive tear-out and reinstall.
- Request an On-Site Corner Mockup: Before your siding crew begins nailing boards to your walls, ask them to build a small, physical mockup of the proposed corner and window trim details. Seeing the trim scale, thickness, and alignment in person is the only way to ensure the final look matches your design expectations.
What’s Next in the Construction Journey…
With our exterior stucco and composite siding successfully detailed and installed, our building’s envelope is complete. Join us in our next post, Episode 34: The Six-Month Cabinet Blind Spot — Measuring Errors Discovered on the Eve of Installation, as we move inside the house and share our experience handling a major cabinet measuring error just weeks before installation.