
On September 5, 2025, we passed our municipal inspections for interior lathing, drywall, and shower pans, clearing us to proceed with our exterior plastering.
Applying smooth, modern stucco to a home’s exterior is a multi-step craft. Unlike textured stucco, which can hide minor wall irregularities, a smooth finish is highly delicate and reveals every imperfection. Achieving a clean, durable, and weather-resistant smooth stucco finish requires a meticulous three-coat plaster process, specialized anti-crack membranes, and careful on-site color testing under natural daylight.
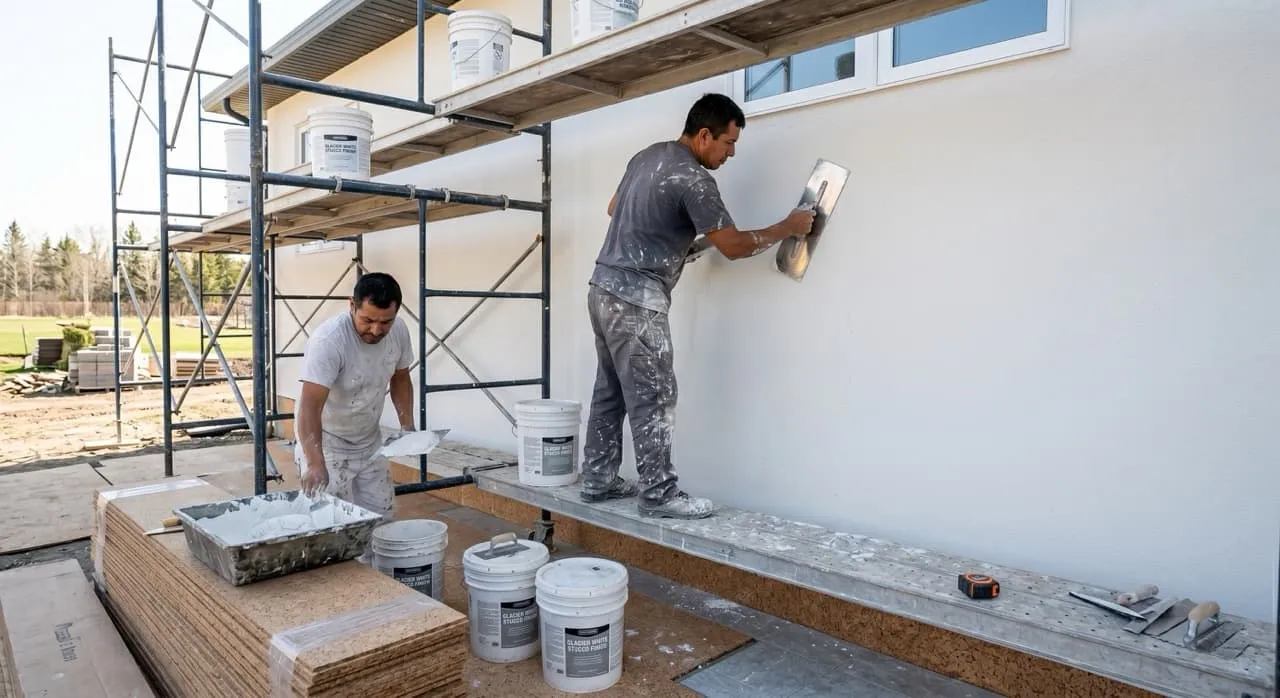
The Three-Coat Stucco Process
A traditional three-coat stucco system consists of three distinct layers of cement-based plaster applied over metal lathing wire:
- The Scratch Coat: A rough, 3/8-inch-thick layer of cement plaster applied directly over the metal lath wire mesh. While the plaster is still wet, workers use a specialized tool to scratch horizontal grooves into the surface, creating a rough texture for the next coat to bond to.
- The Brown Coat: A second 3/8-inch-thick layer applied over the scratch coat. The brown coat is carefully leveled using straightedges (darbies) to flatten the wall plane, correcting any minor framing irregularities and creating a smooth, flat surface.
- The Finish Coat: A thin, 1/8-inch-thick colored plaster layer that establishes your final texture and color.
Preventing Cracks: The Poly-Bond Solution
Smooth stucco is highly delicate. Because cement plaster naturally shrinks as it cures, and because wood-framed homes experience minor structural shifting, smooth-finish stucco is prone to hairline cracks.
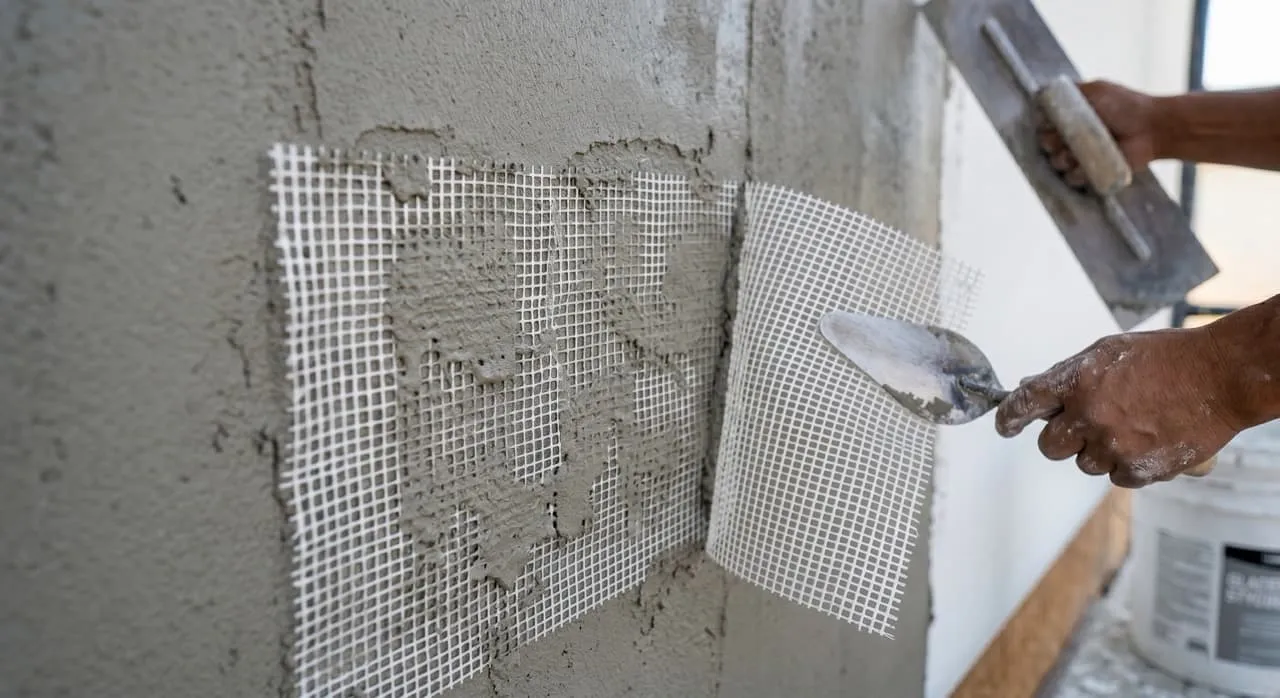
To reduce this risk, we had our plasterers install an anti-crack membrane mesh (commonly referred to as “poly-bond”) under our final finish coat. Workers embedded a white fiberglass mesh sheet directly into a thin layer of polymer-modified cement over our brown coat. This flexible mesh helps distribute structural stresses across the wall surface, significantly reducing the occurrence of hairline cracks as the home settles.
Sourcing and Testing: Glacier White vs. Crystal White
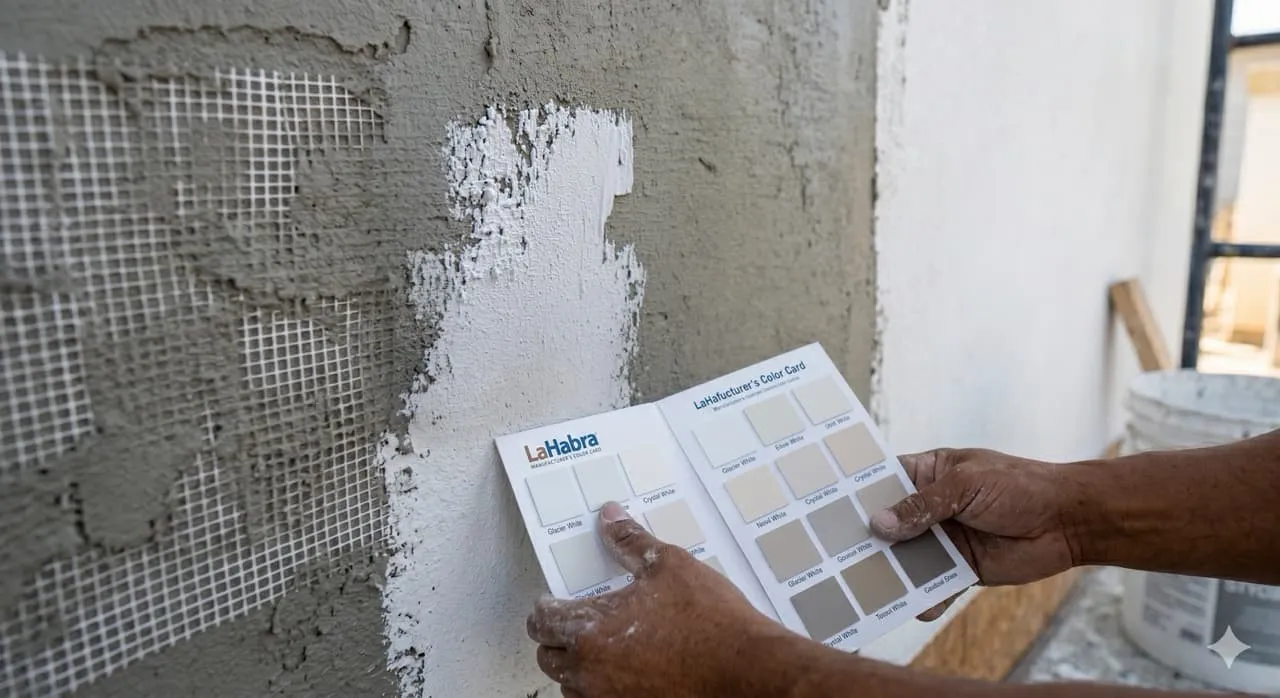
Choosing the right stucco color requires on-site testing. In early September 2025, we reviewed LaHabra stucco color cards to find a clean white that would complement our composite wood siding and black window frames.
To make an accurate decision, we followed a strict testing process:
- The Samples: Our project manager, David, had the plaster crew apply physical 12x12 mock-up samples of Crystal White and Glacier White directly onto our site walls on September 12, 2025.
- The Curing Period: We allowed the wet plaster samples to dry and cure over the weekend.
- The Evaluation: On September 15, 2025, we visited the site to evaluate the dry samples in natural sunlight. While Crystal White had a slightly warm, cream undertone, Glacier White was the brightest white option available. We approved Glacier White, keeping in mind that because stucco is mixed with cement on site, the final dry look is a natural off-white rather than pure paper white.
Crucial Homeowner Call-Outs: What to Watch For
- Insist on an Anti-Crack Membrane Mesh (Poly-Bond): If your design calls for smooth stucco, do not allow your contractor to skip the anti-crack mesh layer. While textured stucco can hide minor cracks, a smooth finish will highlight every hairline fissure. Embedding poly-bond mesh under the finish coat is essential to protect your exterior walls from cracking.
- Do Not Expect Pure Paper White Stucco: Stucco is a cement-based material mixed on site. Even the whitest colors (like LaHabra Glacier White) contain grey cement and sand, meaning they will cure to a natural off-white. The color will also look different depending on the sun, shadow, humidity, and curing time.
What’s Next in the Construction Journey…
With our smooth stucco finish selected and our anti-crack mesh in place, our exterior plastering is set. Join us in our next post, Episode 33: Exterior Siding Detailing — Miters, Corners, and Seams, as we begin installing our composite wood siding panels and coordinate the trim details around our windows and doors.