
In September 2025, with our roof watertight and our drywall finished, we transitioned to one of the most critical phases of interior finish work: preparing our subfloors.
Achieving level, flush transitions between different flooring materials—such as wood planks and bathroom tiles—is a hallmark of quality craftsmanship. When you walk from a tiled hallway into a carpeted or hardwood bedroom, you shouldn’t feel an awkward step or a sloped metal transition molding (reducer). To avoid these transitions and ensure our second floor remained quiet, we designed a comprehensive subfloor preparation plan using acoustic cork underlayment.
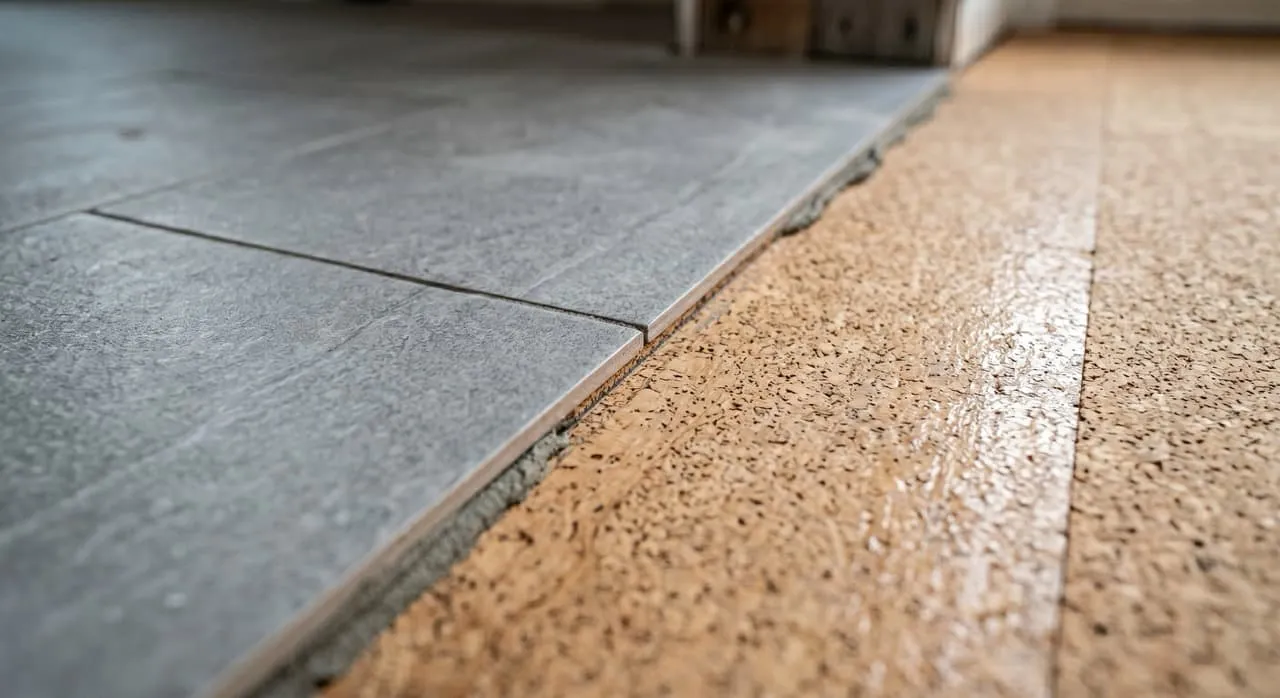
The Mathematics of Floor Prep: Matching Tile and Wood
Different flooring materials have different finished thicknesses:
- Tile Installation: A standard ceramic or porcelain tile installation consists of the tile itself, a thin-set mortar bed, and cement backer board (or self-leveling underlayment). The cumulative thickness is typically around 3/4 inch to 1 inch.
- Engineered Wood: Standard engineered hardwood planks are typically 3/8 inch to 1/2 inch thick, and are glued or nailed directly to the subfloor.
This difference in thickness means that if you install tile and wood directly over a flat subfloor, you will have a significant height offset at every doorway. To achieve a flush, level transition, the builder must build up the wood subfloor before installing the wood planks.
Sourcing Our Cork and Glue
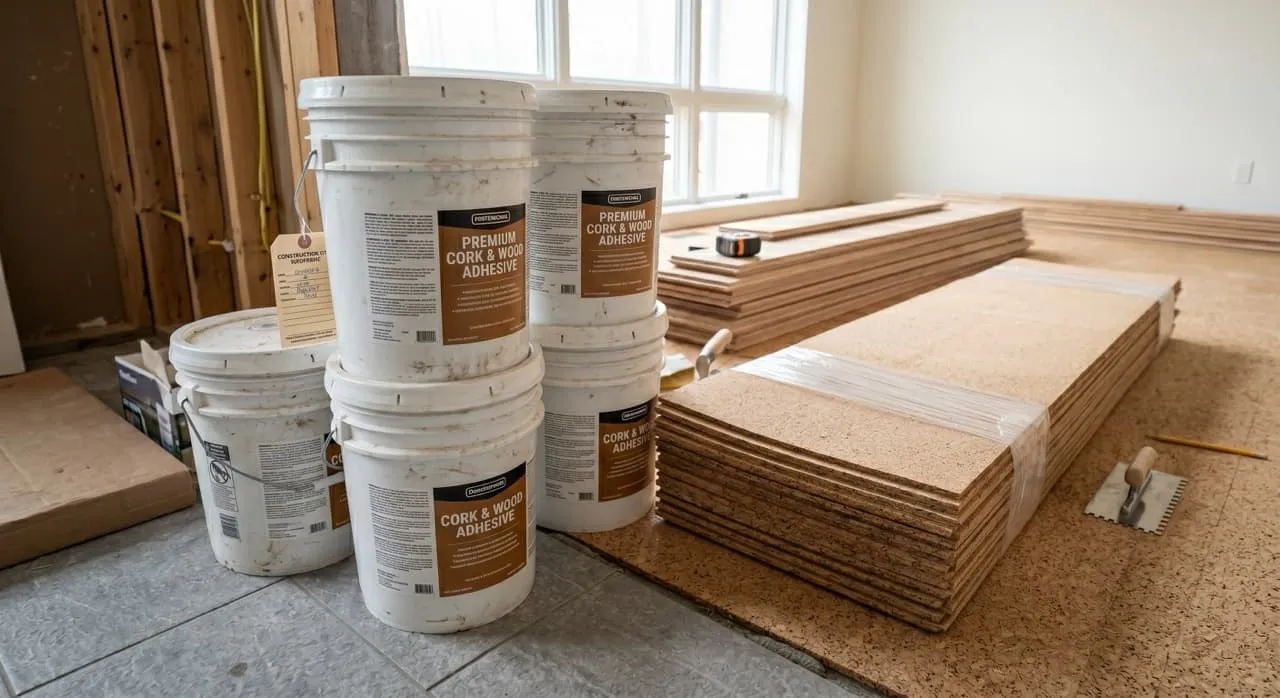
For our second-floor framing, we chose to use certified 1/4-inch acoustic cork sheets:
- The Material: Sourced at $1.69 per square foot.
- The Labor: $1.50 per square foot to glue the sheets down to the subfloor.
- The Adhesive: To ensure a durable, non-toxic bond, we ordered 4 buckets of specialized high-tier adhesive glue from our supplier at $149 per bucket.
Cork is an excellent acoustic barrier. Its cellular structure contains millions of microscopic air pockets that absorb impact noise (like footsteps or dropping items), preventing sound from transferring through the floor framing to the rooms below.
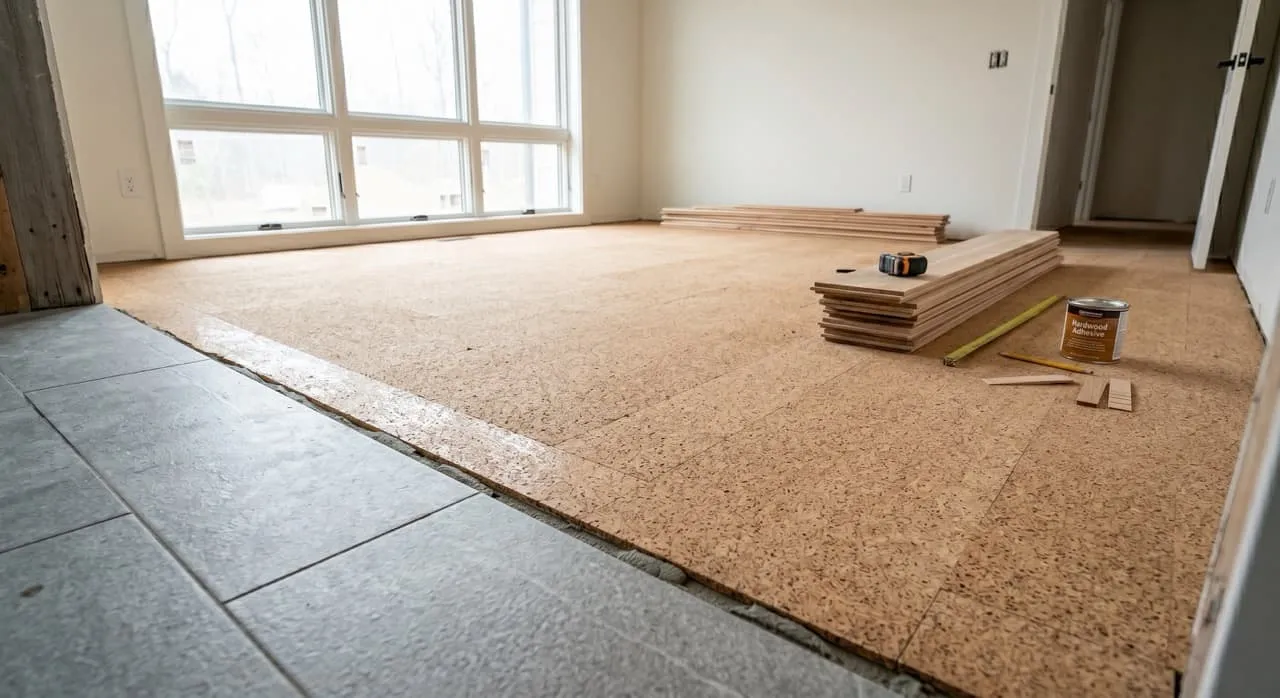
The First-Floor Bedroom Height Challenge
During our floor preparation, we ran into a challenge in our first-floor guest bedroom (Bedroom 1). The design called for large-format tiles in the main living room and entry, and engineered wood flooring inside the guest bedroom.
Because of the thickness differences, our builder initially planned to use a standard sloped wood molding (a “reducer”) at the bedroom threshold. However, we wanted our first floor to be completely flat and flush.
To achieve this without a sloped reducer, we decided to use our leftover 1/4-inch cork underlayment to build up the guest bedroom subfloor. Our builder agreed to install the cork in that single first-floor bedroom at no additional labor charge, and we paid only for the extra cork and glue materials. This simple, collaborative solution allowed us to achieve a flush, modern transition at our bedroom door threshold.
Crucial Homeowner Call-Outs: What to Watch For
- Plan Floor Height Differences Early: Do not assume your floors will be level automatically. Speak with your general contractor during the framing phase to identify which areas will have tile, wood, or carpet. Ensure the builder plans to adjust the subfloor heights (using cork, plywood, or self-leveling concrete) under the thinner materials so that your finished floors are completely flush without awkward transition sills.
- Glue Down Your Cork Underlayment for Sound Control: If you are building a two-story home, use 1/4-inch or 1/2-inch cork underlayment on the second floor to absorb impact noise. For the best sound mitigation, ensure the cork sheets are glued down with high-quality adhesive rather than simply laid loose, as gluing creates a more solid, non-resonant floor structure.
What’s Next in the Construction Journey…
With our interior subfloors leveled and prepped, we can turn our attention back to our home’s exterior envelope. Join us in our next post, Episode 32: Exterior Stucco — Understanding Scratch, Brown, and Finish Coats, as we explore the multi-step process of plastering our exterior walls and choosing our final stucco finishes.