
When our architect handed us the first set of two-dimensional blueprints for our major home addition and remodel, we felt a wave of excitement. Seeing our house mapped out on those large sheets of paper made the project feel incredibly real. However, as we stared at the neat black lines, hatch marks, and dimensions, we quickly realized a major problem: we had a hard time translating these flat drawings into three-dimensional space.
Flat 2D elevations and floor plans are excellent for structural engineers and city plan checkers, but they are highly limited when it comes to helping a homeowner understand spatial volume, light flow, and daily functional layout. That is why, before submitting our final plans to the city for permitting, we made the decision to invest in detailed 3D interior and exterior renderings. It turned out to be one of the most practical decisions we made.
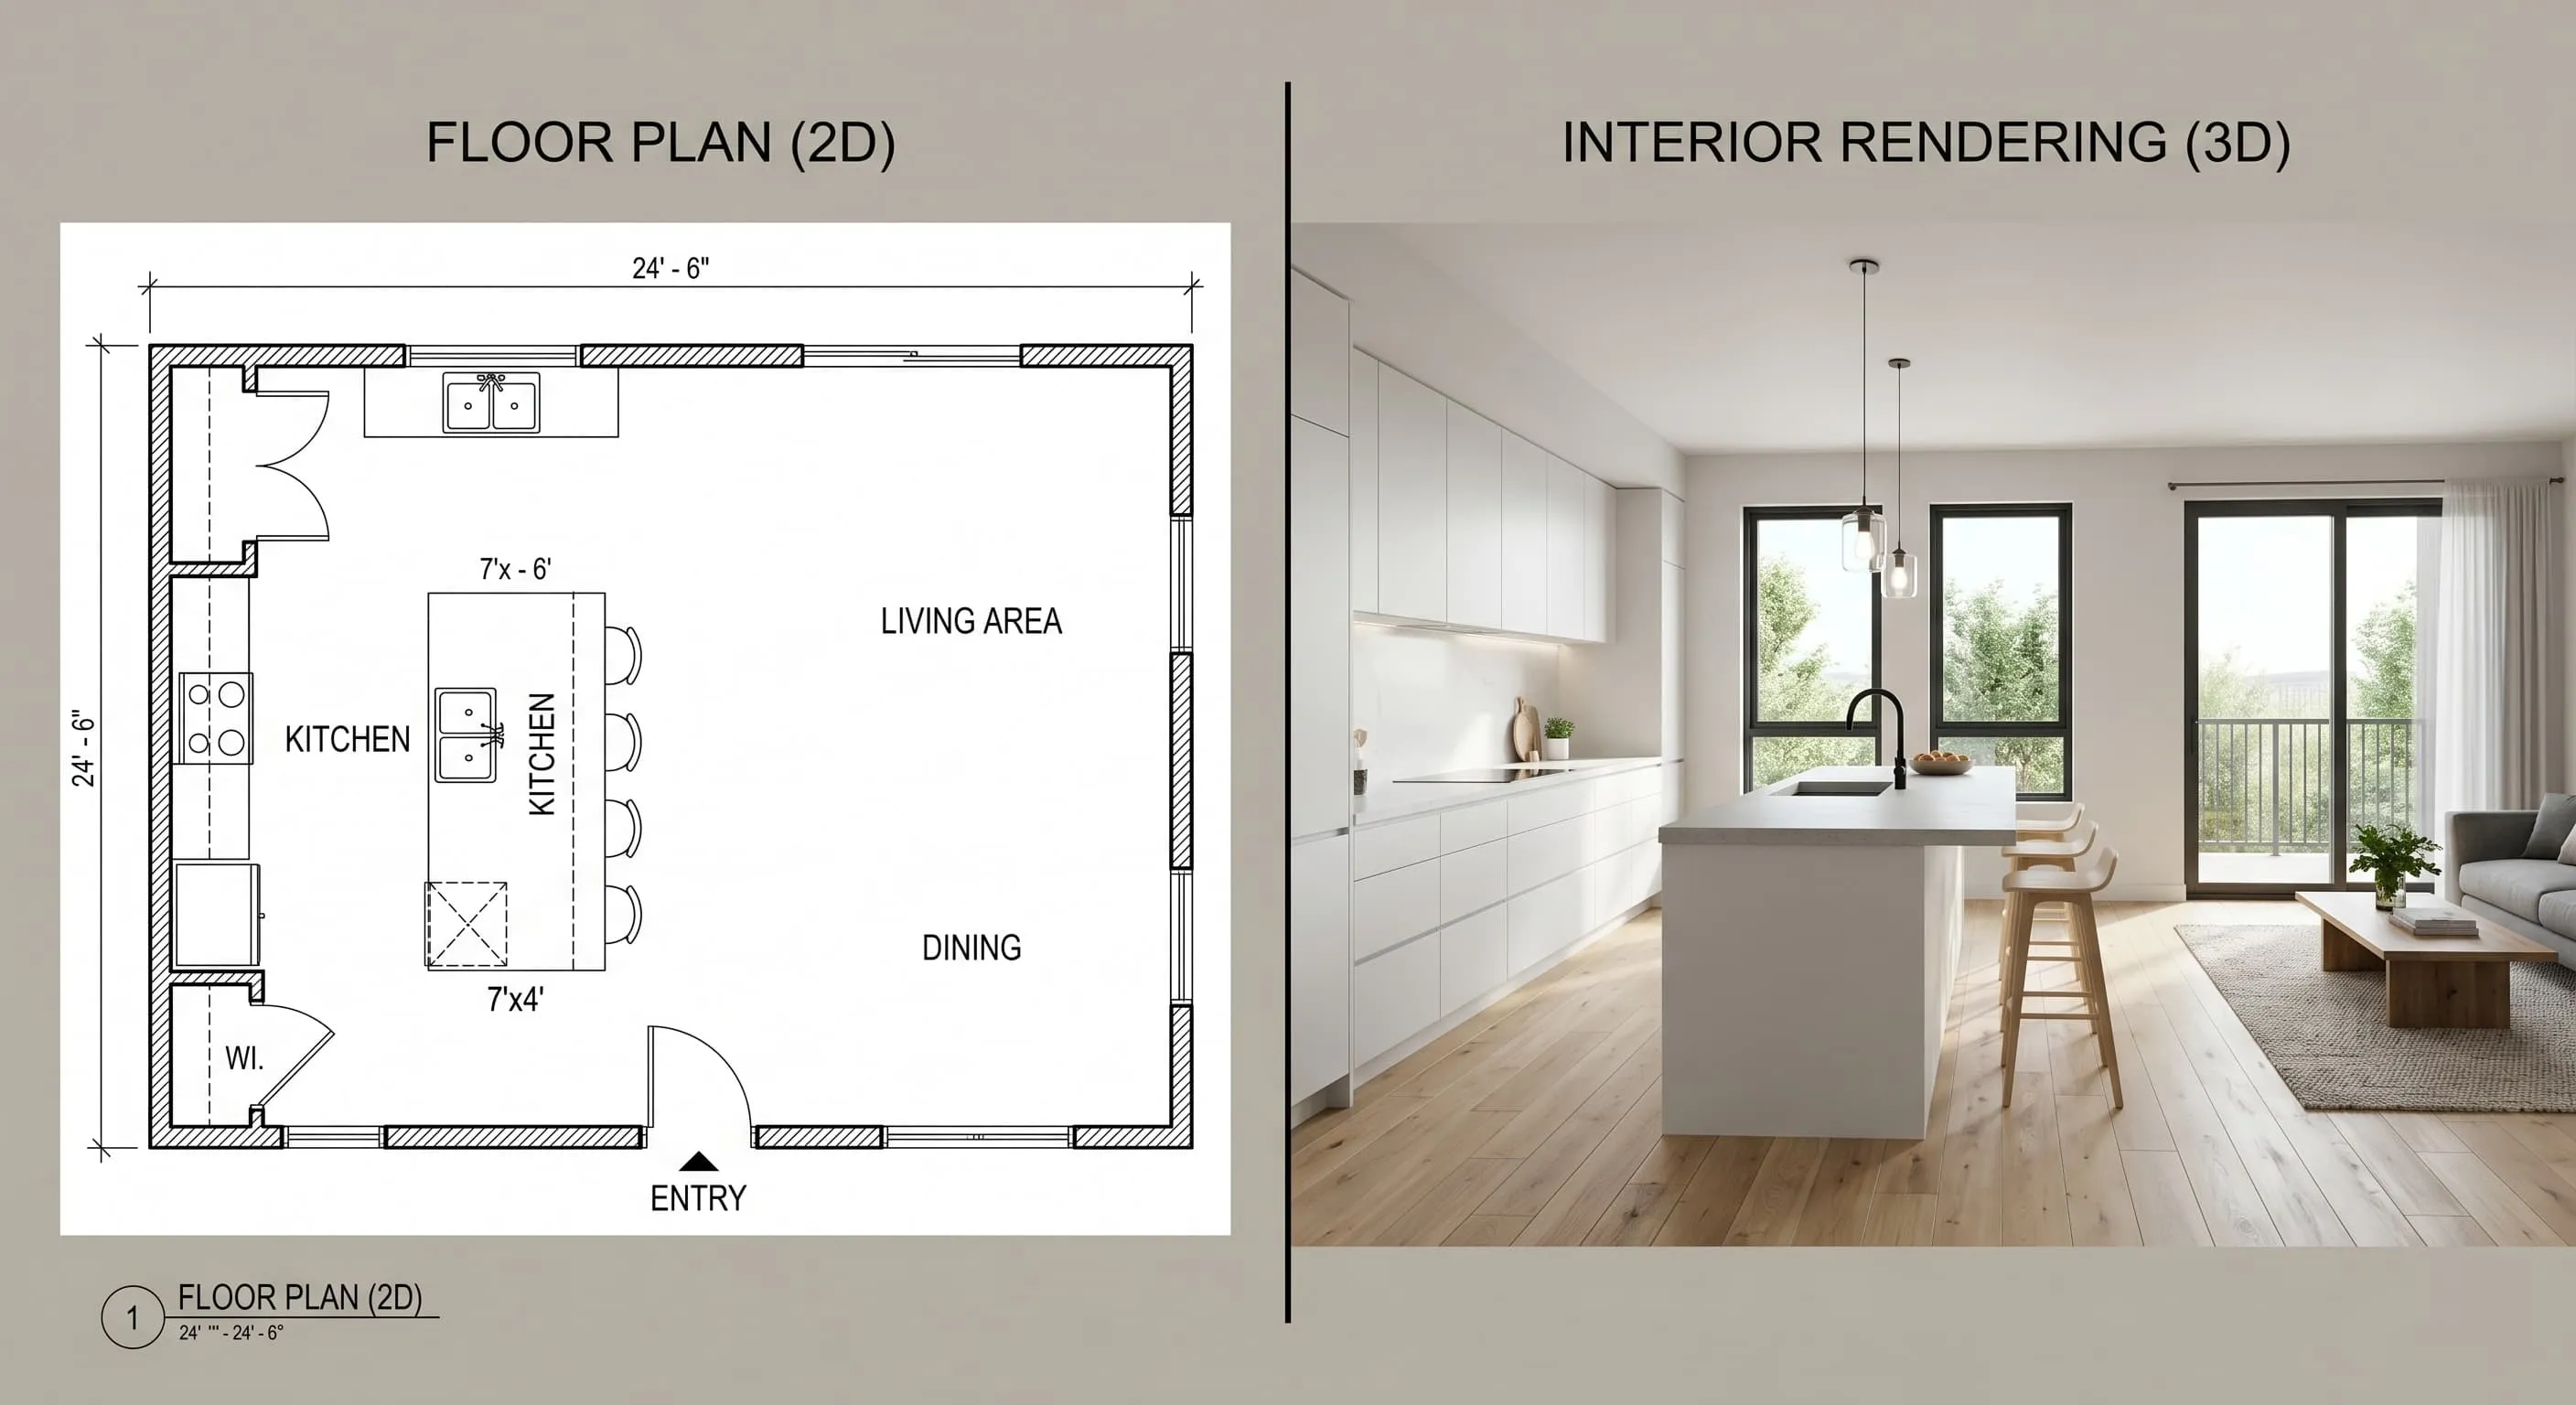
Why 2D Blueprints Aren’t Enough
A 2D plan can show you that a living room is 15 feet wide, but it cannot convey how that width feels when paired with a staircase, an accent wall, or a kitchen island. In open-concept designs, where multiple living spaces flow together, flat drawings can mask major spatial issues:
- Sightlines: A flat blueprint cannot show what you will see when standing at the kitchen sink. Will you have a clear view of the backyard, or is your line of sight blocked by a structural wall or the staircase rail?
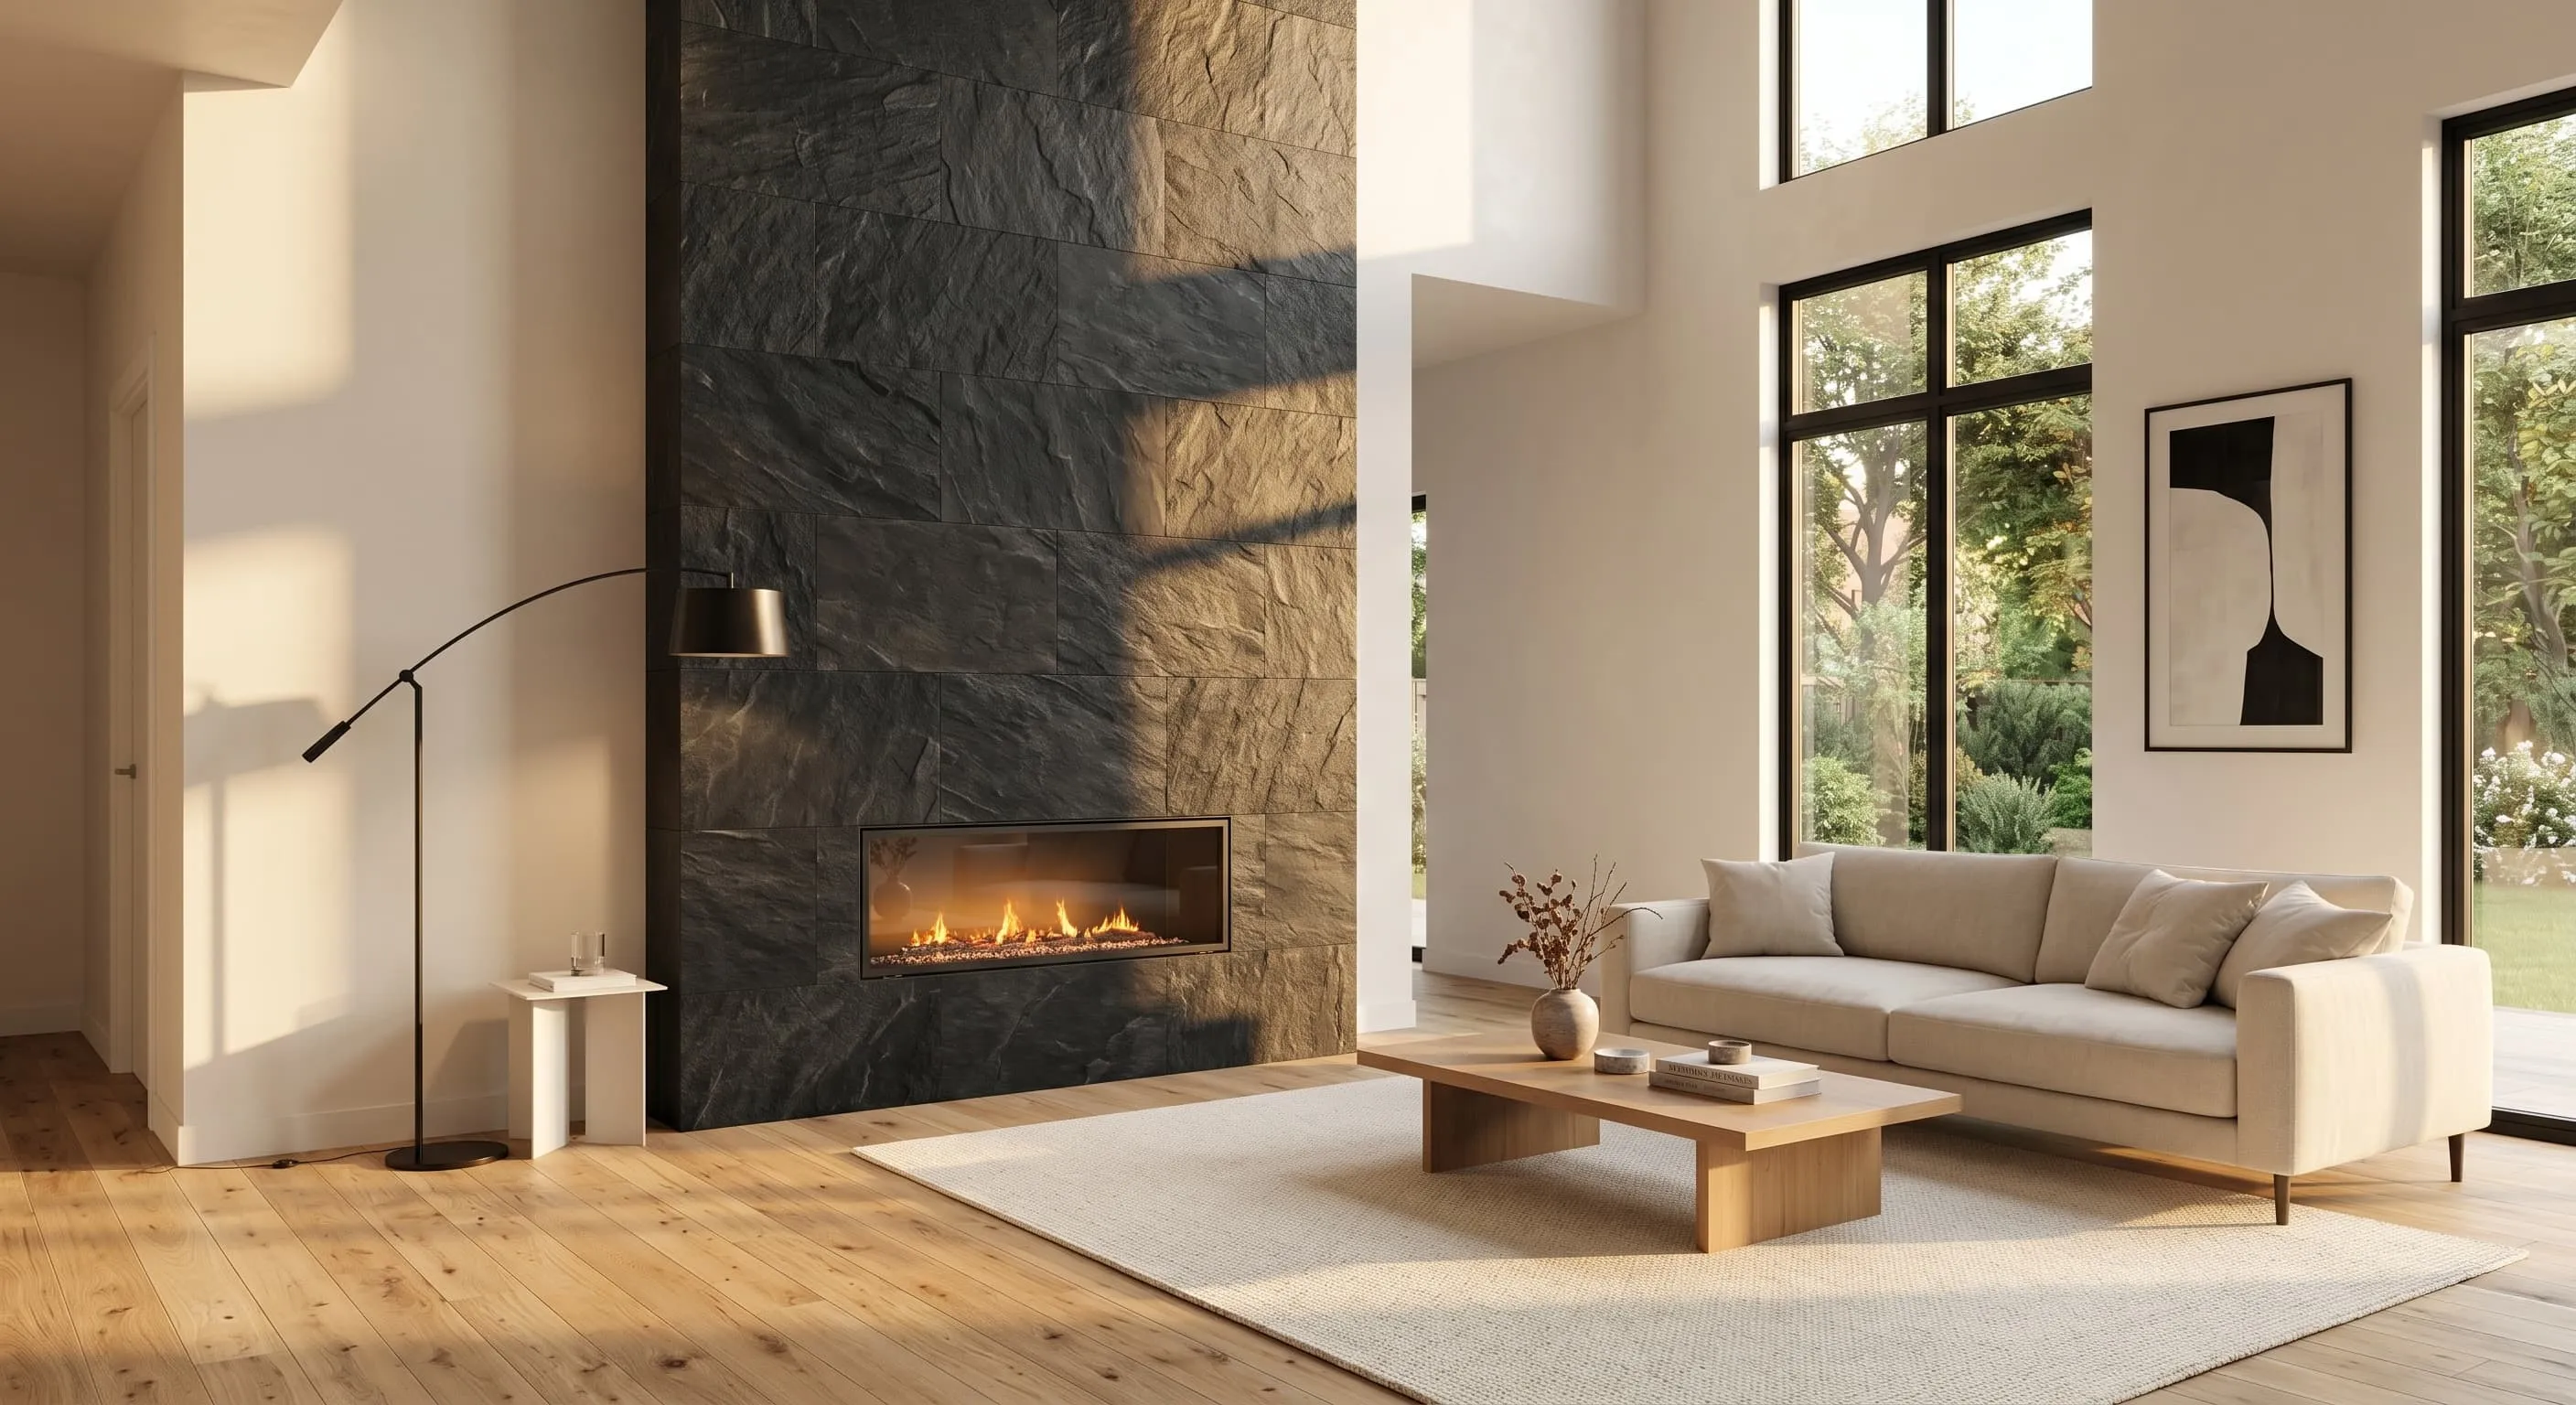
- Vertical Volume: Flat plans do not easily show the relationship between different ceiling heights, soffits, or how natural light from high clerestory windows will filter down into the lower level.
- Scale and Balance: On paper, a window might look perfectly centered in a room. But once modeled in 3D, you might realize that adjacent structural columns or cabinet runs make the window placement look off-balance and uncoordinated.
Spotting Design Flaws in the Digital Space
By building a complete 3D digital model of our proposed layout, we were able to run virtual walkthroughs of our future home. This process allowed us to identify several design issues that would have been highly disappointing—and expensive—to resolve during active construction.
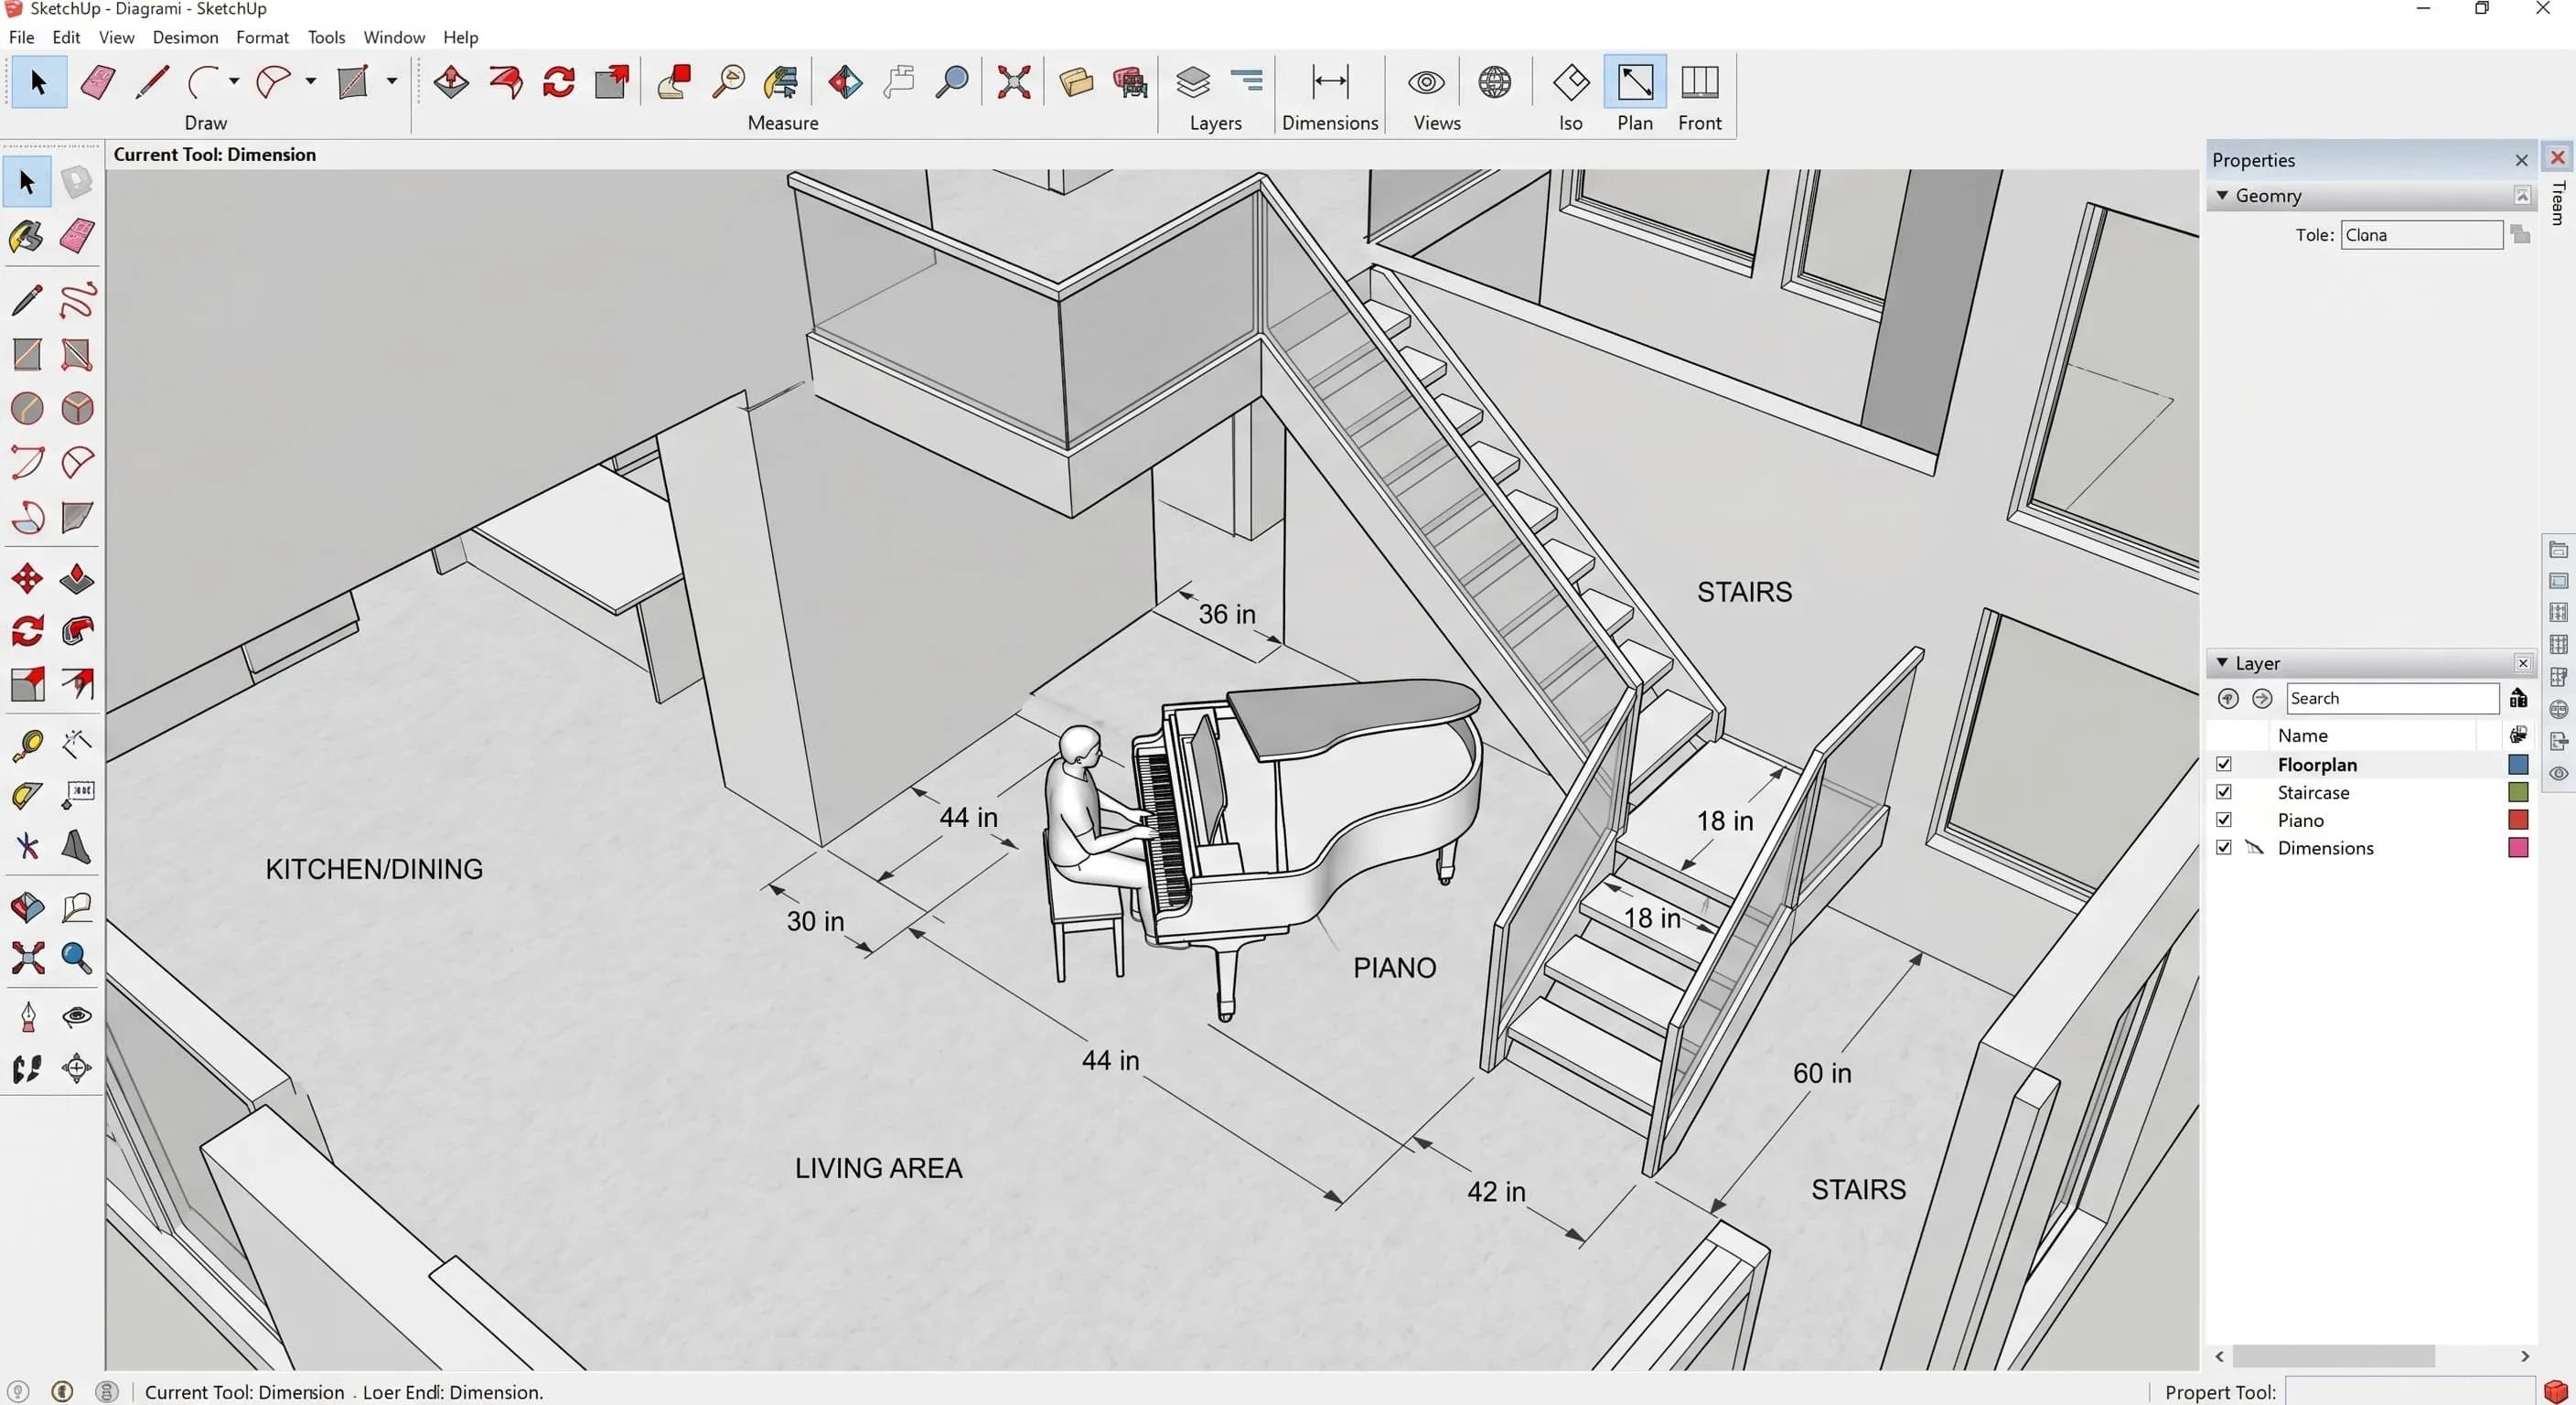
For example, when we saw the initial 3D rendering of our open-concept kitchen and living area, our first reaction was unexpected: the space felt much smaller and simpler than we had imagined on the 2D plans. The staircase alignment felt blocky, and the transitions between the kitchen island and the living room seating were incredibly tight. Because we saw this in a rendering rather than on a framed job site, we were able to pause, regroup with our design team, and rearrange the layout to open up the floor plan.
The Financial Math: Pixels vs. Plaster
Making design and layout changes on a computer screen costs very little—typically just the designer’s drafting time. Making those same changes on site during active construction is financially painful.
Consider what happens if you decide to move a wall or resize a window after framing has begun:
- Structural Demolition: You must pay a crew to tear down the freshly built framing.
- Material Waste: The lumber, drywall, and insulation already purchased and installed are lost.
- Re-engineering Fees: If the change affects a load-bearing wall, you must pay your structural engineer to recalculate the loads and submit revised plans to the city.
- Permit Revision Delays: The city must review and approve the changes, which can halt work on site for weeks while you continue to pay interest on construction loans.
By resolving our design preferences in 3D before pulling permits, we locked in our structural layout, ensuring that every stud was placed correctly the first time.
Crucial Homeowner Call-Outs: What to Watch For
If you are currently working through the design phase of your remodel, here are two practical details to focus on during your 3D modeling process:
- Model Your Large Furniture to Exact Scale: Do not let your rendering designer place generic, undersized furniture placeholders in your model to make rooms look larger. If you have a specific large item—such as the 66” wide, 7-foot long, 5-foot tall grand piano we needed to place in our living area—obtain its exact dimensions and have your designer model it to scale. This is the only way to verify that your walkways remain comfortable and that you have enough room for seating and traffic flow around your prized belongings.
- Verify Window Scale and Operability: Pay close attention to how windows look on the rendered exterior facade. What looks balanced on a flat 2D elevation drawing might look small, unaligned, or out-of-scale in 3D. Additionally, make sure to specify which windows need to open (sliding, single-hung, or awning) versus which are fixed picture windows. Code requirements for bedroom emergency exits (egress windows) often dictate minimum opening sizes, which can affect the exterior aesthetic of your home if not planned carefully.
Estimate Your Renovation Costs Before You Design
Before investing in 3D renderings or committing to a structural layout, get an AI-powered cost estimate for your project — so your budget is grounded before a single line is drawn.
Get a Cost Estimate →Taking the time to visualize and adjust your home in a digital space before pulling permits is one of the most reliable ways to protect your budget and ensure you are comfortable with the final layout.
In Episode 4: Showroom Survival — Managing Selection Fatigue, we’ll tackle the finish selection phase — how we built a structured framework to avoid showroom overwhelm and prevent costly ordering errors when choosing tiles, fixtures, and materials.