
On August 7, 2025, we were preparing for our pre-drywall thermal insulation inspections, confident that we had followed our approved blueprints exactly. However, we quickly learned a major lesson of home remodeling: municipal inspectors have the final authority on site, and their interpretation of building codes can trigger unexpected, mandatory upgrades mid-project.
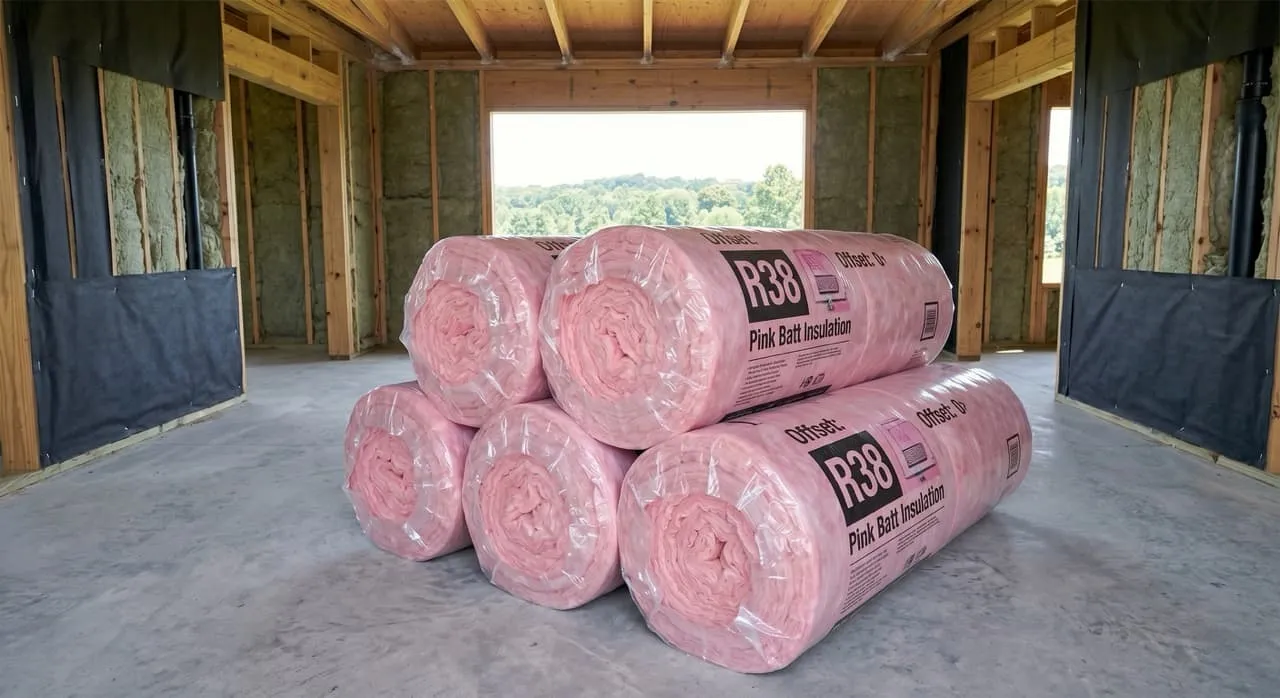
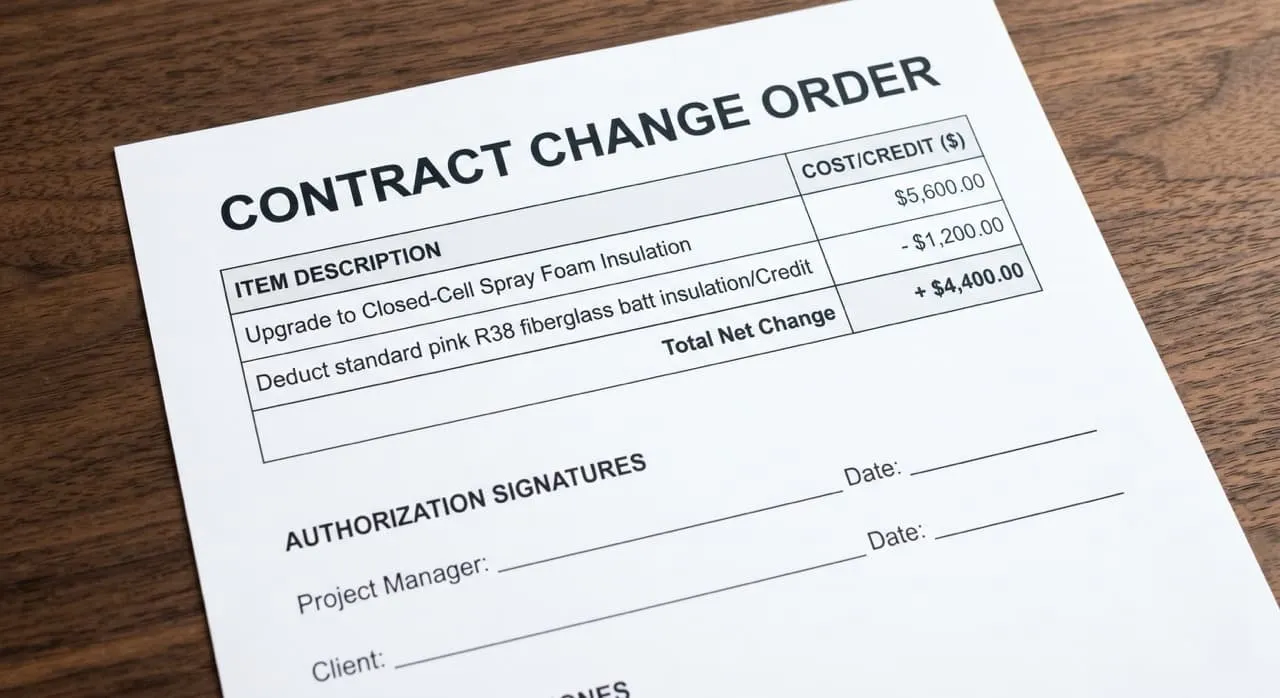
During our walkthrough, the city building inspector reviewed our unvented roof design. Although our approved architectural blueprints specified installing standard, cost-effective R38 fiberglass batt insulation between our rafters, the inspector refused to sign off. Because our roof was unvented (a common design in modern flat-roof additions to prevent hot air pockets), the inspector mandated that we upgrade to closed-cell spray foam insulation to seal the roof underside. This surprise code correction required us to pause work, manage a sudden $4,400 change order, and coordinate a specialized subcontractor on short notice.
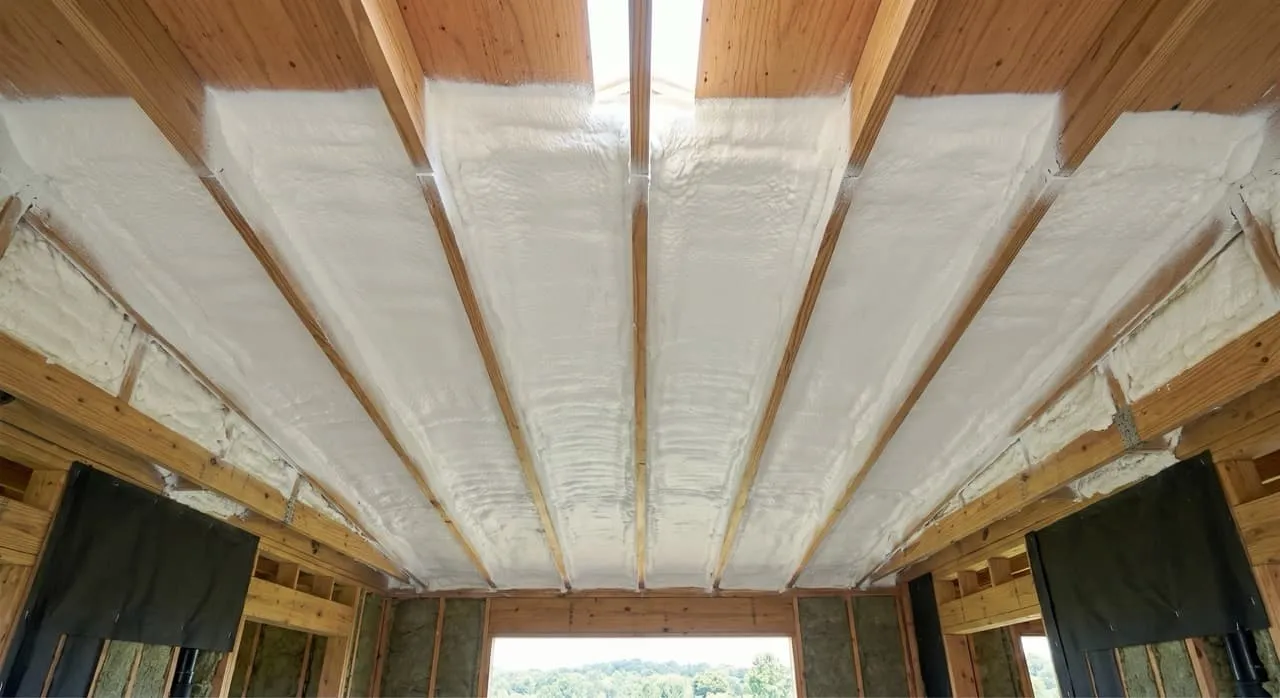
Why Unvented Roofs Require Spray Foam
Traditional roof designs feature vents along the soffits and ridges to allow fresh air to flow through the attic, carrying away rising moisture. In modern flat-roof structures or additions where attic spaces are unvented, managing moisture is more complex:
- The Condensation Risk: In winter, warm, humid air from inside the home rises to the ceiling. If it passes through porous fiberglass batt insulation and hits the cold wood roof sheathing, it condenses into water droplets, leading to wood rot and mold behind your drywall.
- The Spray Foam Solution: Closed-cell spray foam acts as a vapor barrier and air barrier simultaneously. When sprayed between the rafters, the liquid polyurethane expands rapidly, creating a dense, airtight seal directly against the wood sheathing. This prevents warm interior air from ever contacting the cold roof deck, eliminating the risk of moisture accumulation.
The Performance, Cost, and Scheduling Impact
While closed-cell spray foam is highly efficient and offers superior thermal performance, it introduces significant logistical differences compared to standard fiberglass batts:
- Subcontractor Scheduling: Applying spray foam requires specialized rigs, ventilation equipment, and certified crews. Our general contractor could not handle this work with their in-house carpenters. We had to wait for a specialized subcontractor to become available, adding 2 days to our project timeline.
- Financial Impact: The upgrade resulted in a $4,400 change order for materials and installation. To manage this hit to our contingency reserve, we had our builder credit us back for the unused fiberglass batt insulation that we had originally budgeted and purchased.
Crucial Homeowner Call-Outs: What to Watch For
- Understand the Spray Foam Prep and Cure Process: Applying spray foam is a chemical process that releases fumes (off-gassing) during application. By law, no other trades can be on site, and occupants cannot enter the home during spraying and for 24 hours afterward. Coordinate this off-site period carefully with your builder to prevent scheduling conflicts with plumbers or electricians.
- Insist on Material Credit Offsets for Code Change Orders: When an inspector-driven change order arises, do not simply accept the new cost as an add-on. Instruct your contractor to provide an itemized credit offset for the materials and labor that are being deleted from the original scope of work (such as the cost of the standard fiberglass batts and the labor to install them). This ensures that you are only paying the true net difference for the mandatory upgrade.
What’s Next in the Construction Journey…
With our ceiling spray foam completed and signed off, and our wall insulation in place, our home is fully insulated. Join us in our next post, Episode 29: Hanging Drywall — The Path to Smooth Walls, as our crews begin hanging drywall sheets and applying the smooth plaster coats that turn our framed structure into finished rooms.