
Beneath the design of your bathrooms and kitchen lies a network of pipes that keep your home functional. The “rough plumbing” phase is the stage when plumbers route your supply lines, waste drains, and sewer ventilation pipes through the open wood framing studs before any drywall is installed.
This phase is about more than just ensuring your sinks and toilets drain properly; it is your opportunity to install durable materials and verify the structural integrity of your underground sewage lines before pouring final concrete driveways or starting backyard landscaping.
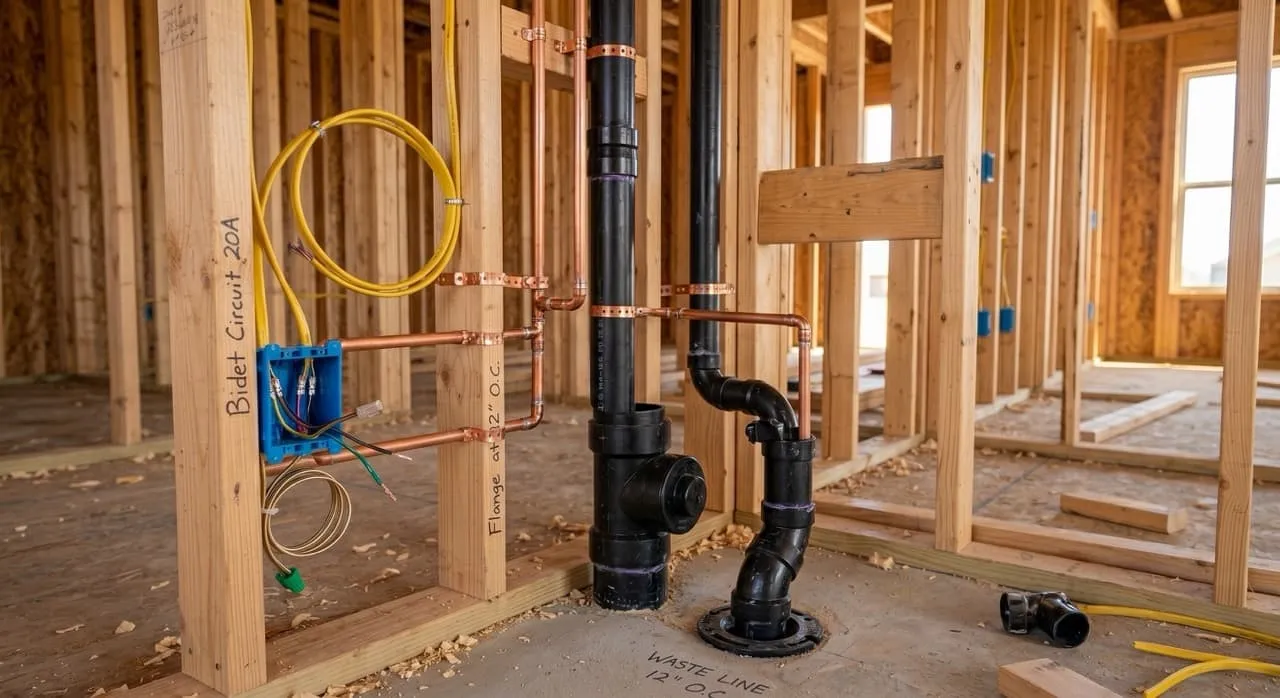
Sourcing Materials: Type L Copper and ABS
When selecting plumbing materials for our major remodel and addition, durability was our primary concern. While modern PEX (flexible plastic tubing) is popular due to its lower cost and ease of installation, we chose to use rigid copper pipes for our main structural water supply lines:
- Type L Copper: We specified Type L copper, which has a thicker wall dimension than the standard, thinner Type M copper typically used in residential construction. This extra wall thickness provides greater resistance to interior water friction, corrosion, and mineralization over decades of use.
- ABS Waste Lines: For our drains, waste lines, and roof vents, we utilized standard black ABS (Acrylonitrile Butadiene Styrene) pipes. These lightweight, robust plastic pipes are highly resistant to impact and chemical corrosion, making them the residential standard for waste lines. During this phase, we also ran dedicated copper lines to our kitchen island sink and a cold water line specifically for our stove-top pot filler.
The Sewer Camera Check: Inspecting the Old Lines
If your remodel involves tying a new second-story addition and new bathrooms into an older, existing underground sewer main, you must verify the health of those older pipes.
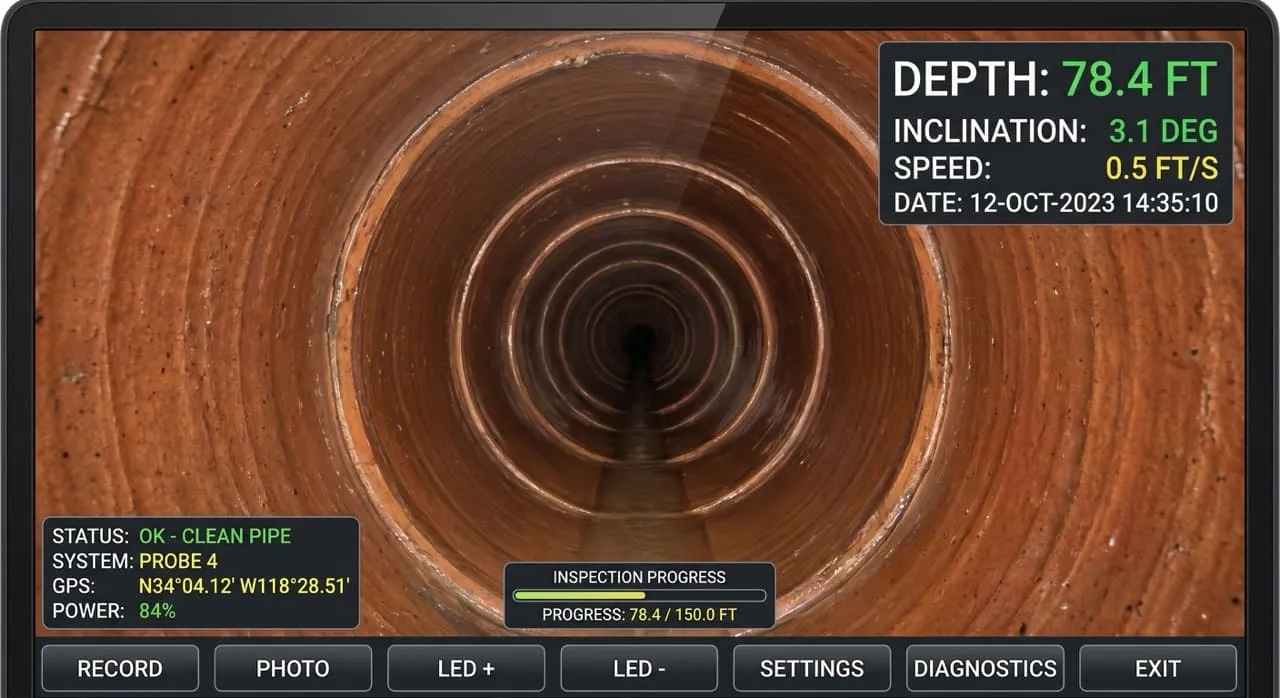
Before committing to our hardscaping layout, we had our plumbers run a high-resolution, fiber-optic sewer camera down our cleanout drain all the way to the municipal sewer hookup at the street.
- What We Found: The camera footage revealed minor root intrusions and joint offsets in our old clay sewer pipe under our front yard.
- The Action: Because we caught this early during the rough plumbing phase, we were able to clean out the roots and line the old pipe safely. Had we skipped this check, a sewage backup later would have forced us to jackhammer our newly poured concrete driveways to make repairs.
Verifying Pressure Tests Before Drywall
Once the plumbers finish soldering the copper and gluing the ABS, the entire system must undergo pressure testing to verify there are absolutely zero micro-leaks behind the walls.
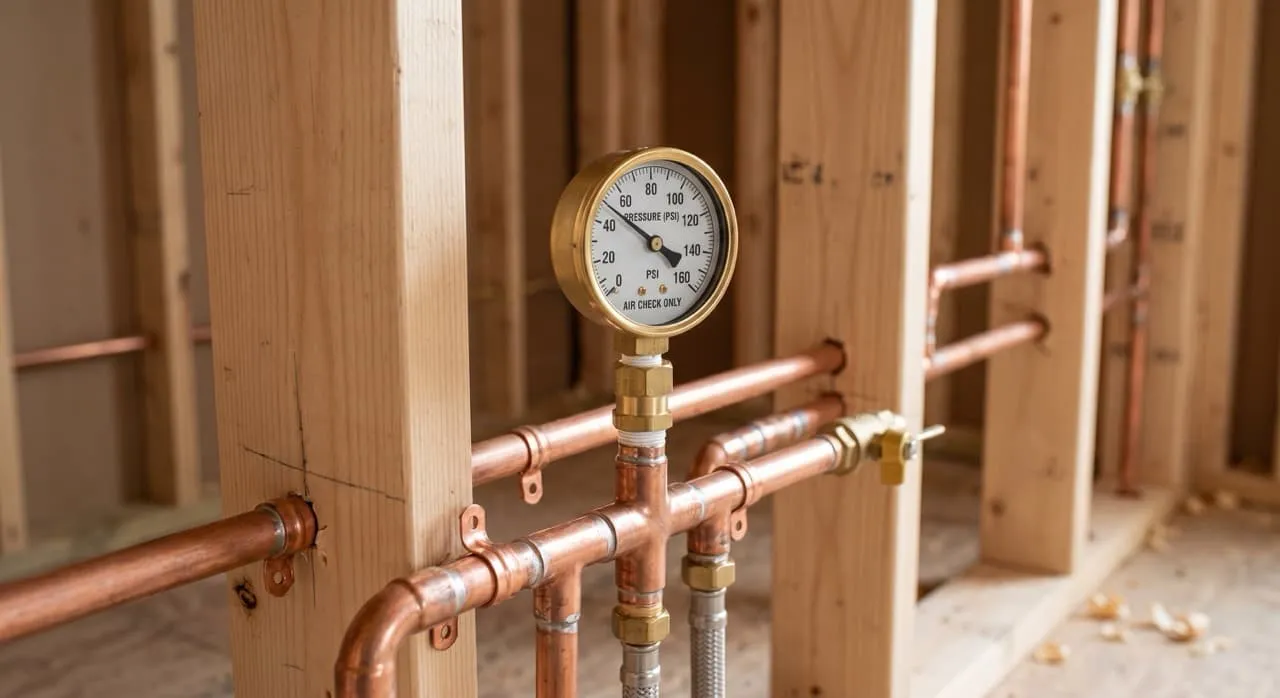
To do this, the plumbers capped all plumbing outlets and connected air pressure gauges to the water supply and gas manifolds. They pressurized the lines with compressed air (typically 50 to 100 PSI for water lines) and left them pressurized under monitoring for several days. This pressure-test phase is checked by municipal building inspectors before they sign off on the plumbing roughs.
Crucial Homeowner Call-Outs: What to Watch For
- Request a Sewer Camera Inspection of Your Main Line: Do not connect modern high-flow toilets and new bathrooms to an older underground sewer pipe without verifying its structural health. Request a sewer camera check out to the street. Any cracks, collapsed segments, or root intrusion should be repaired or lined now, before you start on expensive hardscaping or landscaping in your yard.
- Physically Check the Plumbing Air Pressure Gauges: Walk your framed site with your project manager and check the physical plumbing air pressure gauges. Ensure the needle is holding steady at the pressurized limit (e.g., 50+ PSI) for at least 24 hours. If the needle drops even slightly, it indicates a micro-leak in a solder joint or fitting that must be located and repaired before drywall closes up the walls.
What’s Next in the Construction Journey…
With our rough plumbing lines in place and pressure-tested, our water and waste corridors are secure. Join us in our next post, Episode 23: Fire Sprinkler Systems — Code Compliance in Additions, as we navigate the modern municipal building codes and safety requirements for residential fire protection.