
Walking through your framed home with the electrical subcontractor is a highly empowering milestone of any major remodel. This “rough electrical walkthrough” is your brief window of opportunity to design how your daily life will flow through the house.
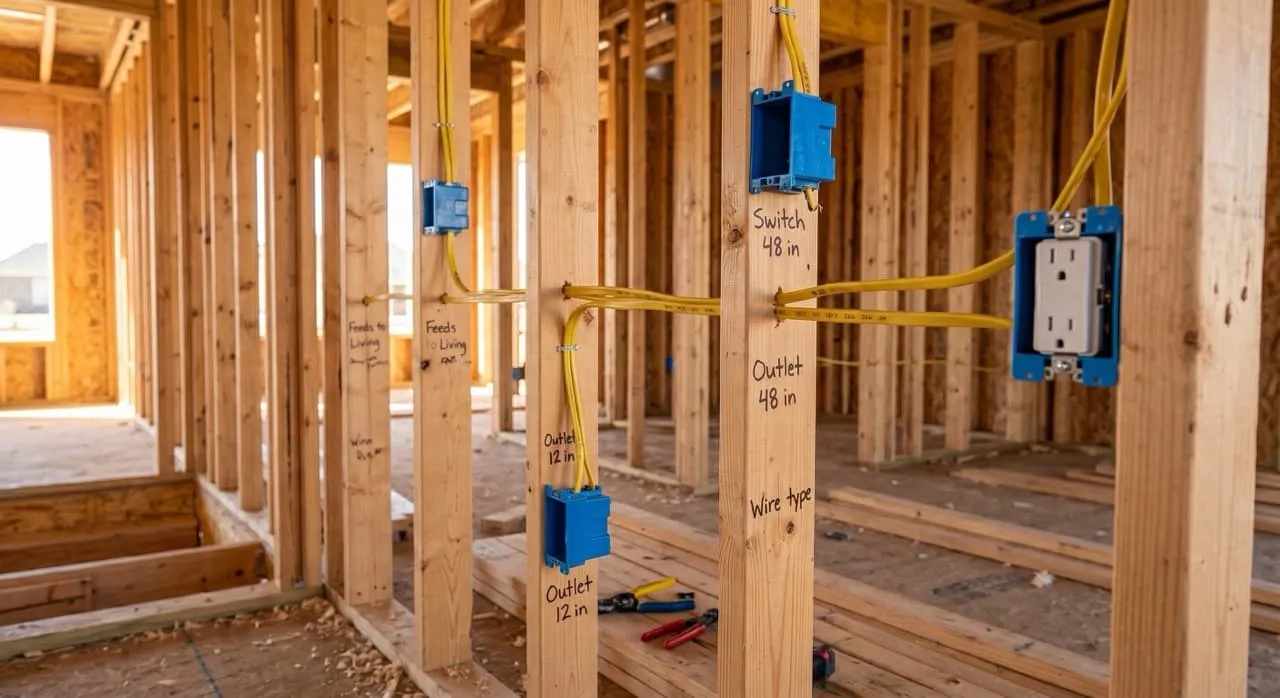
Once the drywall is hung and painted, moving a light switch or adding an outlet is a difficult, messy process. In our open frame, we walked room by room with our electricians to map out every single outlet, switch, recessed light, and dedicated circuit, ensuring that our daily habits—from charging devices next to our bed to powering a home gym—were built directly into our home’s electrical skeleton.
Designing for Daily Flow: The Entryway Test
The most important rule of placing light switches is convenience. When you walk into your home, you shouldn’t have to navigate in the dark to turn on a light.
To plan our switches, we physically walked through our framed front entrance and simulated our arrival:
- The Path of Entry: We placed a multi-gang switch box immediately inside the front door on the latch side of the frame. This allowed us to easily turn on the front porch light, the overhang recessed lights, and the main hallway lights as we stepped inside.
- Door Swings: We checked our architectural door swing plans for every single room. A common electrical error is placing a light switch behind where a door opens, forcing you to walk around the open door slab to turn on the light. We verified that every switch was located on the opposite side of the hinge, easily accessible upon entering.
High-Value Comforts: Bedside 3-Way Switches and Bidet Outlets
During our walkthrough, we incorporated several electrical details designed to improve our daily comfort:
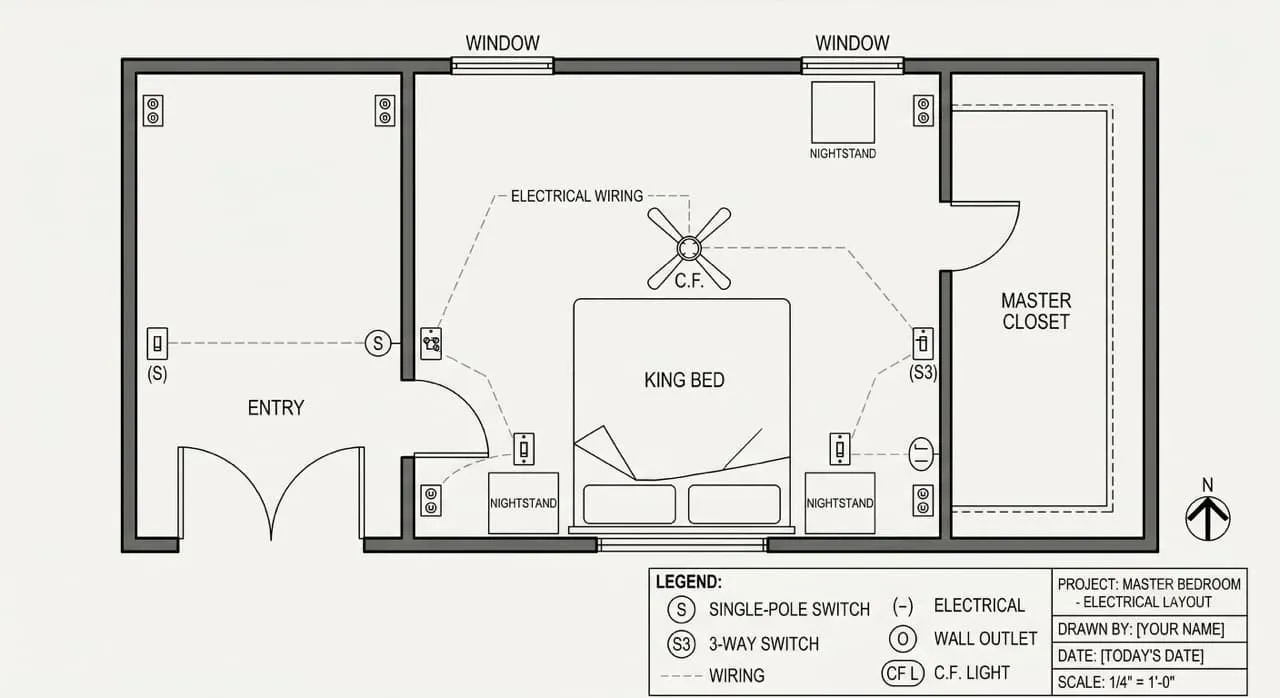
- Bedside 3-Way Switches: In our master bedroom, we planned for the main recessed lights to be controlled by a three-way switch network. We placed one switch at the entrance to the room, and another two switches positioned directly adjacent to where our bedside nightstands would sit. This allowed us to turn off the main room lights comfortably from bed without getting up.
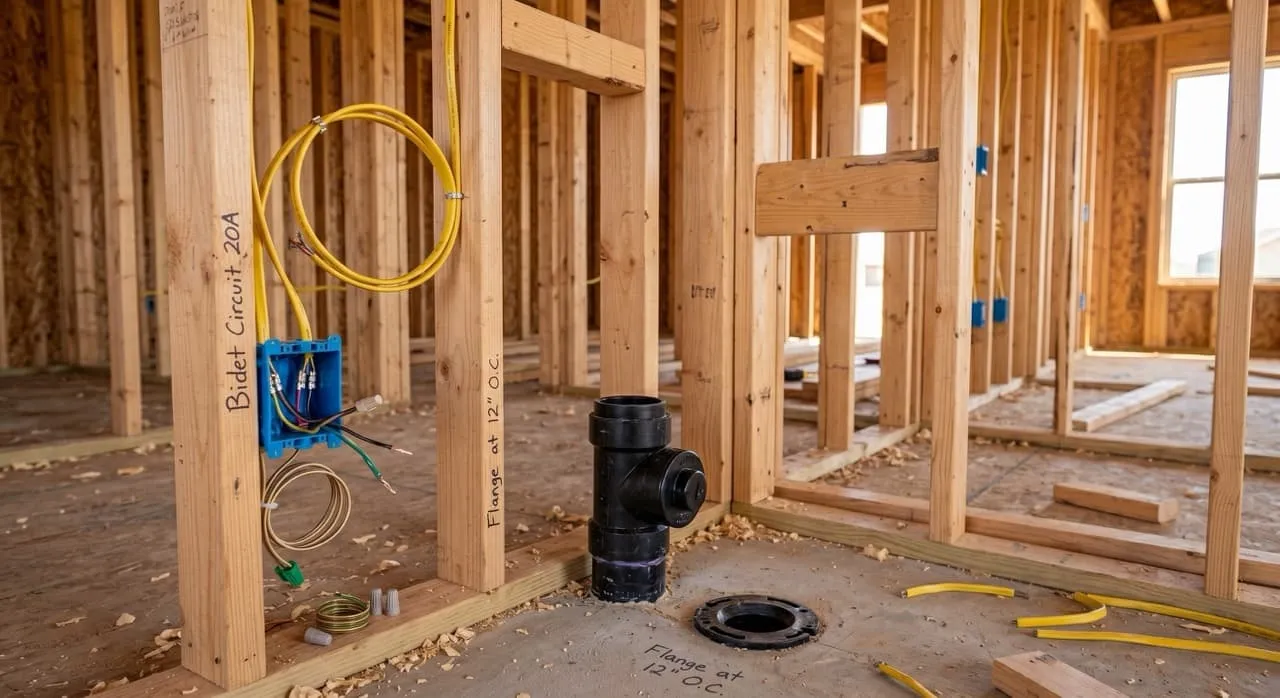
- Dedicated Bidet Outlets: Heated smart bidet toilet seats have transitioned from a luxury item to a standard home preference. Because these seats require active power for water heaters and air dryers, they must be plugged into a wet-rated, GFCI-protected outlet. We placed a dedicated electrical box adjacent to every single toilet in the house during this rough-in phase.
Future-Proofing for Home Gyms and Smart Devices
Our remodel plans also included transforming our garage space into a functional home gym. High-power exercise equipment, such as treadmills, portable space heaters, and fans, draw significant amperage. To prevent circuit breakers from constantly tripping, we had our electricians run dedicated, high-amperage 20-amp circuits to the garage walls. We also ran low-voltage conduit lines to central points in our hallway ceilings to house hardwired smart home hubs and mesh Wi-Fi access points out of sight.
Crucial Homeowner Call-Outs: What to Watch For
- Install Bidet Outlets Next to Every Toilet Now: Heated electronic bidet seats require active power. Trying to add these outlets after drywall, plaster, and bathroom tiles are finished is incredibly difficult and expensive. Even if you do not plan to buy bidet seats immediately, install the rough-in boxes and run the wires now; you can simply cap them with a blank cover plate until you are ready to use them.
- Verify Switch Placement on the Door Latch Side: Walk the framed door openings with your electrician. Ensure that every single switch box is mounted on the door latch side of the framing studs, not the hinge side. If a switch is placed on the hinge side, the open door slab will block access, creating a permanent daily inconvenience.
What’s Next in the Construction Journey…
With our rough electrical boxes mounted and pathways mapped, our home’s power grid is prepped. Join us in our next post, Episode 22: Rough Plumbing — Copper Pipes and Sewer Vents, as we explore how the plumbers route clean water lines, drain vents, and municipal sewer connections through our open frame.