
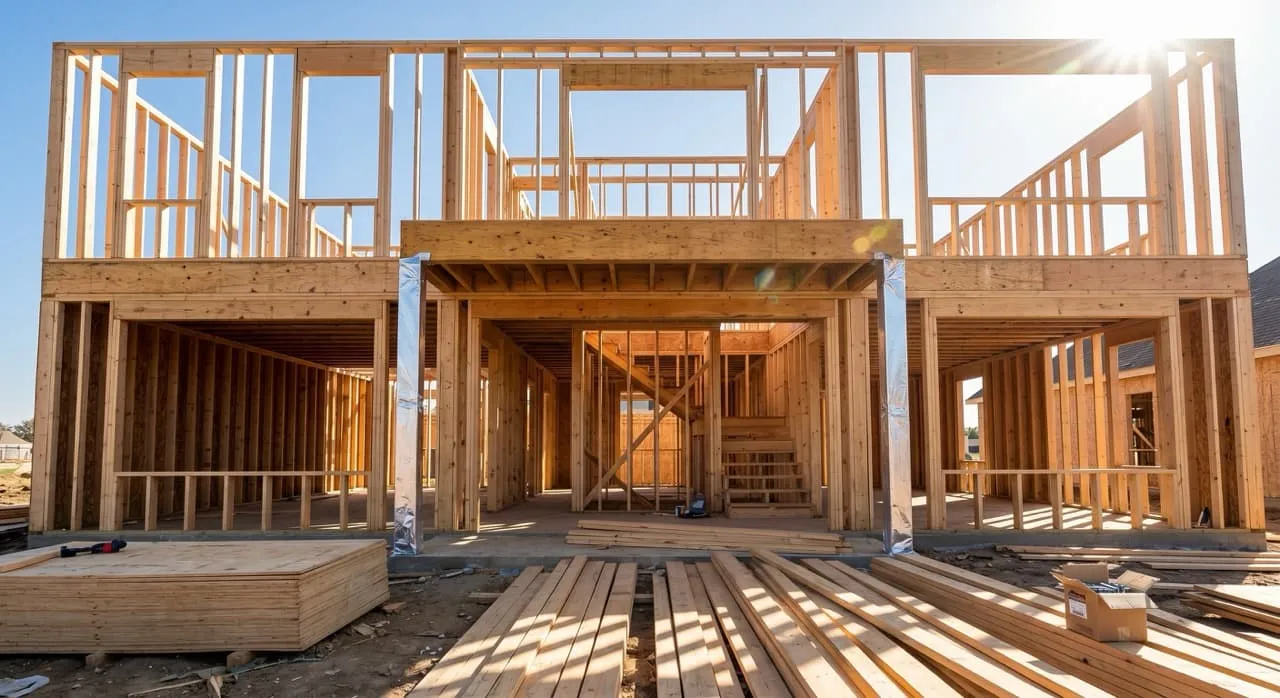
Framing is the stage when your project changes from a concrete slab on the ground to a towering, three-dimensional structure. Watching your home’s structural skeleton rise—studs, floor joists, shear walls, and roof rafters—is a milestone phase of any major home addition.
However, framing is also a highly precise engineering exercise. Every piece of wood on your job site is part of a calculated pathway designed to transfer vertical loads (the weight of the roof, the second floor, and everything inside the home) safely down to your concrete foundation. Understanding how these load paths operate and how to verify that your structural elements are installed correctly is essential before your builder begins wrapping the house in plywood sheathing.
Navigating the Structural Load Path
To build a second-story addition safely over an existing first-floor footprint, structural engineers calculate the weight of the new structures (dead loads) and the weight of future furniture and occupants (live loads). This vertical load path must run continuously:
- Roof Rafters: Carry the weight of the roof and ceiling, transferring it down to the top plates of the second-story walls.
- Second-Floor Studs: Pass the load down to the floor joists and horizontal floor plates.
- Floor Joists and Beams: Collect the second-story weight and route it across to the first-floor load-bearing stud walls or columns.
- First-Floor Studs and Foundation: Finally, these vertical walls transfer the entire cumulative weight of the home directly into the concrete foundation footings.
Splicing Open Spaces: GLUs, LVLs, and Engineered Lumber
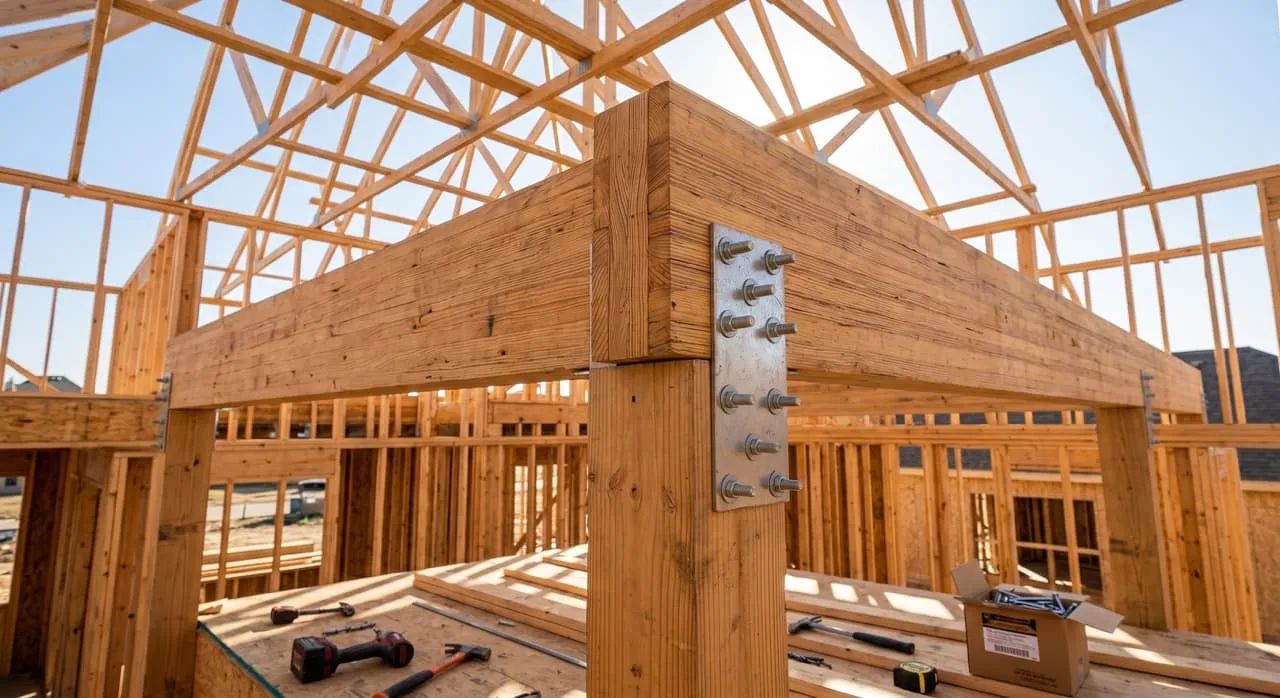
Because our first-floor design featured a wide-open floor plan between the kitchen, living room, and dining area, we could not rely on standard stud walls to carry our second-story loads. Instead, our engineer specified large, engineered wood beams:
- Glulams (GLUs): Layers of structural wood laminations bonded together with industrial-strength adhesives.
- Laminated Veneer Lumber (LVLs): Thin wood veneers glued together in parallel alignments under intense heat and pressure.
These engineered wood beams have far greater structural strength and load-carrying capacity than standard solid lumber of the same size, allowing us to span wide distances without requiring support columns that would break up our open living space.
Shear Walls and Seismic Security
While vertical load path planning handles downward gravity weight, building in seismic zones like Southern California requires planning for lateral forces (sideway shifting caused by earthquakes or high winds).
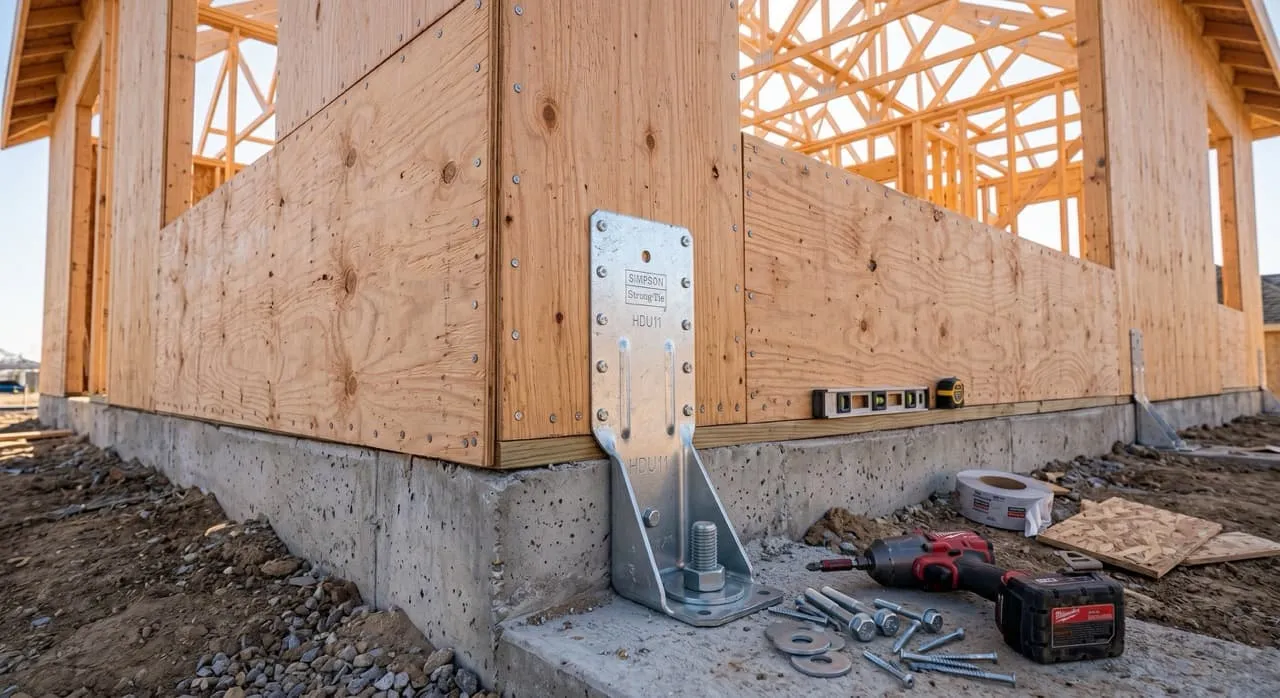
To prevent the two-story frame from twisting, leaning, or collapsing laterally, our framing crew built heavy-duty shear walls. These walls are made by taking standard stud walls and sheathing them with structural plywood panels nailed in a precise, tight boundary pattern (such as nails spaced every 2 to 3 inches). These shear walls are also secured to the foundation using heavy metal hold-down brackets (Simpson Strong-Ties) and thick anchor bolts, anchoring the wood frame to the earth.
Crucial Homeowner Call-Outs: What to Watch For
- Verify Engineered Wood Beam Specifications: When engineered beams (GLUs or LVLs) are delivered to your site, check their labels. Ensure that the depth, thickness, and grade of the delivered beams match the specific structural calculations on your approved architectural blueprints. A common framing error is installing a slightly smaller beam to save cost or fit a ceiling space, which can result in sagging floors or ceiling cracks later.
- Measure Critical Spaces Before Sheathing Goes Up: Walk the open frame with a tape measure before the exterior plywood sheathing is installed. Measure critical interior spaces—such as walk-in closets, bathroom widths, and stairwell clearances—while the studs are still exposed. It is straightforward for carpenters to adjust a wood stud wall by a few inches now; once the sheathing and interior drywall are installed, moving a wall is an expensive process.
What’s Next in the Construction Journey…
With our wood framing complete and our shear walls anchored, our home’s structural shell is secure. Join us in our next post, Episode 20: The Mechanical Layout — Hiding HVAC Ducts, as we bring in our mechanical crews and solve the spatial challenge of running large heating and cooling lines through our open-concept spaces.